Crochet Octopus FREE Pattern
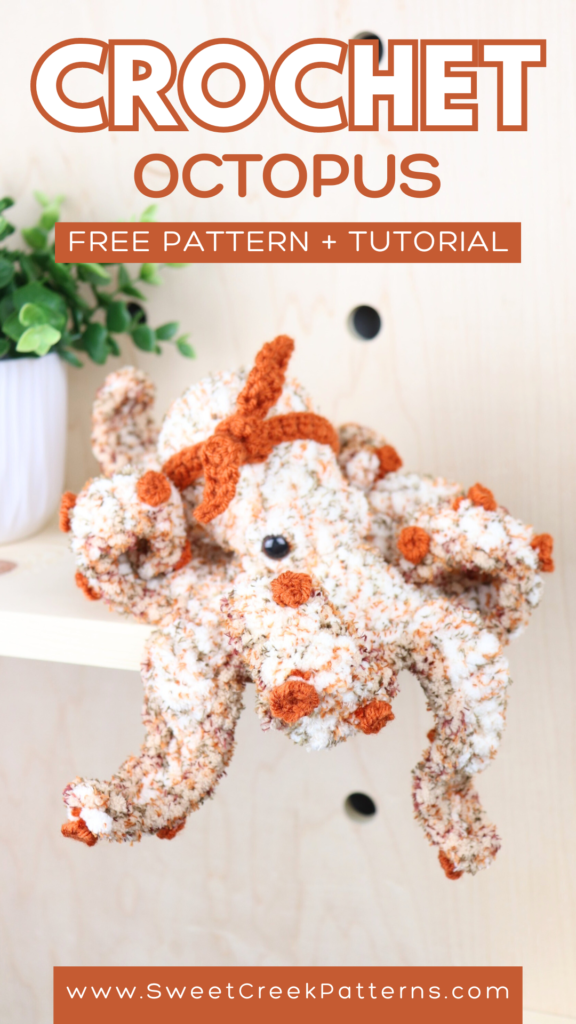
Whether you’re new to learning how to crochet a octopus, or just looking for a fast and easy market pattern this crochet octopus free pattern will be perfect for you.
In this FREE Crochet pattern and tutorial I will teach you step-by-step how to crochet this adorable little octopus! This crochet octopus would be a perfect item for your summer markets, a great stash busting pattern, and so much more! Let’s start crocheting!
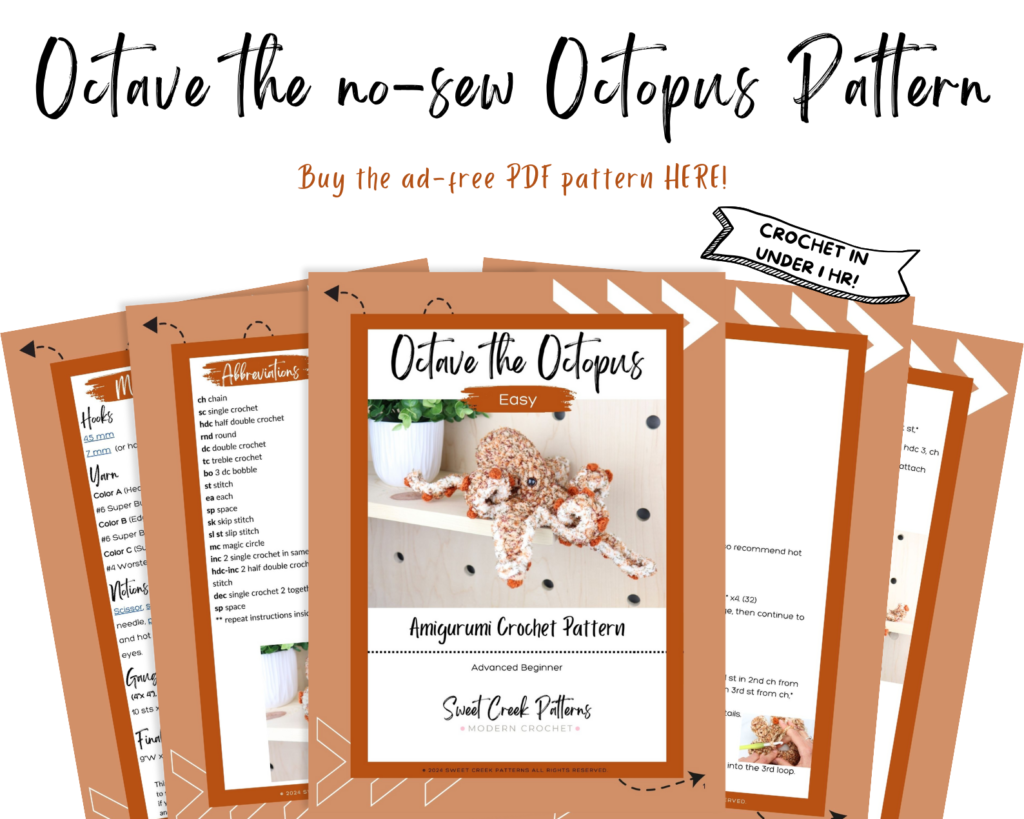
Get the full free pattern and tutorial below or purchase the ad-free, printable pdf here.
*This easy crochet octopus pattern and tutorial contains affiliate links. As an Amazon Associate I make a small commission at no extra cost to you.
A Easy and FREE Crochet Octopus Pattern For Summer Markets:
Need an easy crochet project? Just learned to crochet? Summer market in a couple of days? Whatever your situation, this easy crochet octopus pattern has you covered.
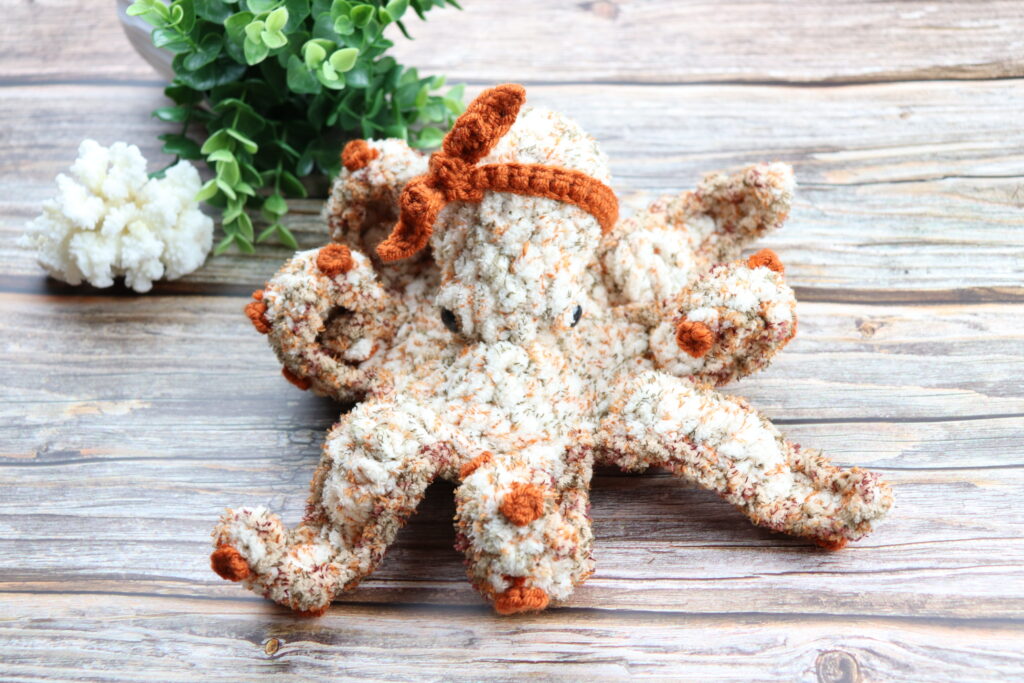
Crocheting amigurumi usually requires a lot of previous experience and sewing on limbs afterwards. But not this time!
With our beginner friendly approach, you’ll learn the most basic crochet stitches to create a simple octopus that requires NO SEWING on body parts. This make this pattern easy enough to attempt as your first crochet project ever.
Why You’ll Love this Crochet Octopus Free Pattern
1. Super Fast: You can finish this entire Octopus in about an hour and a half
2. Giftable: This crochet octopus is perfect as a gift to friends, especially sea loving friends.
3. Sell or Donate them: This octopus would be perfect for selling at craft markets or donating to a children’s hospital
4. Profitable: I’ve heard from a “maker” that she was able to make a higher profit at craft fairs with the octopus, than other crocheted items.
Materials Needed to Crochet this Octopus:
Yarn:
Color A (Head, body, and arms):6 Super Bulky • Approx 50 yds, Bernat Blanket Tweed Yarn color : Sandy
Color B (Edging): 6 Super Bulky • Approx 5 yds, -Bernat Blanket Tweed color: Woodland
Color C (Suction Cups): 4 Worsted Weight • Approx 4 yds, -Red Heart Worsted color: Carrot
Notions:
Scissor
stitch marker
darning needle
poly-fil
12 mm safety eyes
hot glue (to secure safety eyes.)
Notes about the Octave the Octopus Crochet Pattern
Gauge:
(4″x 4″), 7 mm hook with color A
10 sts x 10 rows sc in ea st
Final Size:
9″W x 9″L x 3.5″H
Notes:
- For the mini octopus, I used a worsted weight yarn and a 4.5 mm hook instead of the 7mm hook. Then for the edging and suction cups, use a worsted weight complimentary color and 3.5 mm hook.
- You can find tips and tutorials for crocheting on my YouTube channel Sweet Creek Patterns
Crochet Stitches and Abbreviations
Abbreviations:
ch chain
sc single crochet
hdc half double crochet
rnd round
dc double crochet
tc treble crochet
bo 3 dc bobble
st stitch
ea each
sp space
sk skip stitch
sl st slip stitch
mc magic circle
inc 2 single crochet in same stitch
hdc-inc 2 half double crochet into same stitch
dec single crochet 2 together
sp space
** repeat instructions inside asterisk
Special Stitches:
dec
*Insert hook, yarn over pull through,* repeat in next st, yarn over and pull through all 3 loops.
bo
**Yarn over insert, yarn over pull through, yarn over pull through 2 loops** repeat 3 times for a total of 4 loops on your hook, then yarn over and pull through
LEFT handed Octopus Crochet Pattern
The Octopus Crochet Pattern
Using color A, 7 mm hook:
*Note* You will be working in the round.
Rnd 1: Make a MC and sc 6 into the ring. (6)
Rnd 2: Inc x6. (12)
Rnd 3: *Sc, inc,* x6. (18)
Rnd 4: *sc 2, inc,* x6. (24)
Rnd 5: Sc in ea st. (24)
Rnd 6: *Sc 2, dec,* x6. (18)
Rnd 7: Sc in ea st. (18)
Rnd 8: *sc, dec,* x6. (12)
Rnd 9: Sl st 5, hdc 7. (12)
Rnd 10: Sl st 5, hdc, bo, hdc 3, bo, hdc. (12)
Rnd 11: Sl st 5, hdc 7. (12)
*Note* Attach eyes in the bobble you created. I also recommend hot gluing the backs of the safety eyes.
Rnd 12: Hdc-inc, sl st 5, hdc-inc 6. (19)
Rnd 13: Hdc 2, sc-inc x5, hdc 12. (24)
Rnd 14: Hdc 2, *sc-inc, sc 2,* x3, sc-inc, *hdc 2, hdc-inc,* x4. (32)
*Do NOT tie off, sl st in next st to make an even edge, then continue to Arms.* Stuff head with poly-fil.
Octopus Arms
Using color A, 7 mm hook:
Row 1: *Sl st in next st, ch 17, (working down the ch) sl st in 2nd ch from hook, then sl st 3, hdc 4, dc 4, tc 4, sk 2 sts, then sl st in 3rd st from ch,* repeat 8 times..
Once complete with all 8 arms, tie off and weave in tails.
Closing the bottom of the crochet octopus
Using color A, 7 mm hook:
You will attach your hook to Rnd 11 and begin working into the 3rd loop.
Rnd 1: Ch 1, dec in ea st around. (6)
Tie off, and weave in ends.
Octopus edging
Using color B, 4.5 mm hook:
You will begin by attaching your hook to where you just finished the arms, and begin working around each of the arms.
Rnd 1: Ch 1, sl st, *ch 1, skip a st, sl st in next st, ch 2, skip a st, then sl st* repeat around.
Tie off, and weave in tails.
*Note* At this point you have finished the octopus, however you are welcome to add suction cups if you want, the instructions are below:
LEFT handed crochet headband tutorial
Suction Cups on Octopus’ Arms (Optional)
Using color C, 4.5 mm hook:
*Note* I went a bit crazy with the amount of suction cups, however, you can totally decide how many suction cups you want if you want any at all.
Small suction cups repeat 31 times or for desired amount:
Rnd 1: Make a MC, ch 1, sc 5 into ring, sl st to join. (5)
Tie off, and weave in tails.
Large suction cups, repeat 18 times or for desired amount:
Rnd 1: Make a MC, ch 1, sc 7 into ring, sl st to join. (7)
Tie off, and weave in tails.
Attaching Suction Cups: I attached the suction cups by moving the tail from where we just tied off to the opposite side from where the MC tail was, then each tail will go around a different loop of octopus arm, then make two knots and cut your yarn.
Placement of suction cups: On each arm I did a large suction cup, a small suction cup, a large suction cup, then 2 small suction cups.Here is what I did for each arm: Attach the large suction cup on the 2nd st up arm. Attach the small suction cup on 4th st up arm. Attach the large suction cup on 7th st up arm. Attach the small suction cup on 10th st up arm. Attach the small suction cup on 13th st up arm.Here is what I did for the bottom of the body: *Attach a large suction cup on Rnd 14 of the body.Attach a small suction cup on Rnd 13 of the body.*Repeat above 4 times, you will have one suction cup per arm.Crochet a Mini-hat for your octopus with this tutorial:
LEFT handed mini-hat crochet tutorial
Thank you all so much for making this Octopus with me!!! Please comment below and let me know what colors you made your Octave the Octopus in!! Also, please tag me on social @SweetCreekPatterns, as I would LOVE to see your octopus!

Other Ocean Themed Crochet Patterns from Sweet Creek Patterns:
Sea Turtle Bundle Crochet Pattern
LEFT handed Crochet Starfish Tutorial
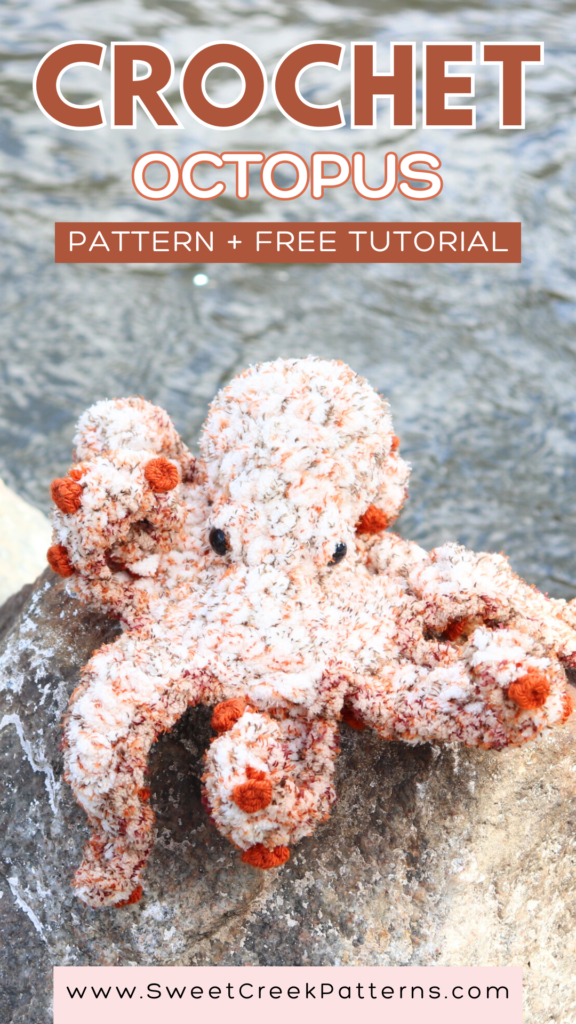
PIN NOW, CROCHET LATER
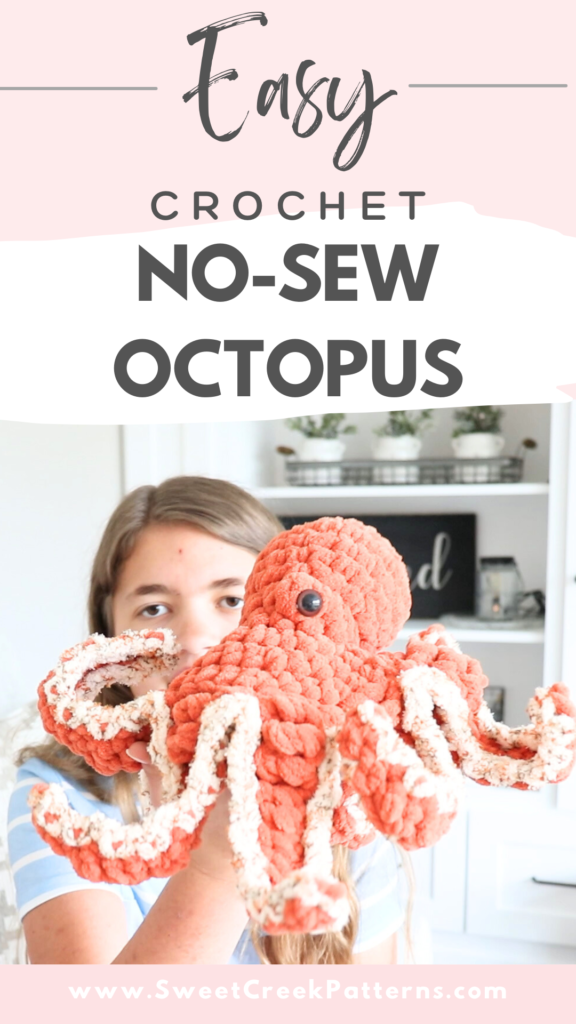
Thank you all so much for making this Octopus with me!!! Please comment below and let me know what colors you made your Octave the Octopus in!! Also, please tag me on social @SweetCreekPatterns, as I would LOVE to see your octopus!
If you enjoyed this blog post, please:
Comment below, I’d love to hear what color you made this Octopus in and how it turned out!

What a beautiful Octopus pattern! Thanks so much for sharing!
So glad you like this octopus! Thanks for your comment!
This is an awesome quick fun pattern thank you!
For the arms I had to skip 3 and slip stitch in the 4th stitch in order to make it all the way to the other side evenly.
Thank you!!!
Hi Tiffany! I am thrilled to head you enjoyed this pattern! Thanks for your comment!