Crochet Rose Bud Tutorial
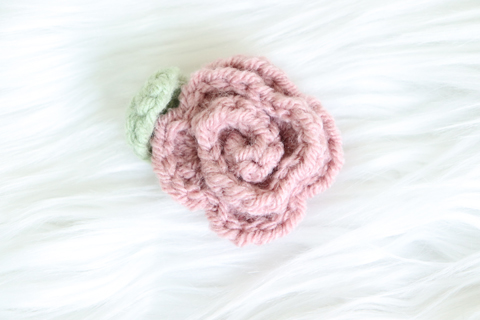
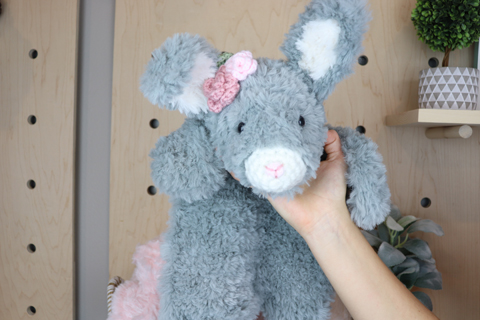
With quick and easy crochet techniques, you can stitch blanket yarn rose bud variations in a flower’s size, shape, and even color. Crochet flower are a great way to finish a project that needs a little extra something. They make the perfect embellishment when added to crochet loveys, snugglers, amigurumi, headbands, blankets, sweaters, and more. The versatility of this DIY crochet rose bud is unlimited. I like to use my crochet rose as an accessory to add femininity to my crochet amigurumi.
How to crochet a rose bud with blanket yarn
How to crochet a rose bud LEFT HANDED tutorial
Crocheting a rose is an easy, quick, and absolutely fun project. It is a great stash buster, as you can create several different colors and sizes to use up those left over yarn scraps. By simply using different sizes of crochet hooks, you can make smaller more petite roses or use a larger hook with chunky yarn to create a bolder rose.
Materials needed to crochet a rose bud
HOOK
YARN I USED:
Premier Basix Chenille Blush: https://amzn.to/48nq7rL
NOTIONS
Scissors
Stitch marker
Darning needle
Crochet Rose Bud Pattern
Row 1: Ch 8, in 2nd ch from hook hdc 2, ch 1, and sl st, in 2nd ch from hook, sl st, ch 1, hdc 2, ch 1, and sl st, *in 2nd ch from hook, sl st, ch 1, sc 2, ch 1, sl st.* x2. (4 pedals)
Tie off leaving long tail to sew rose together.
Sewing rose together:
Wrap the rose in a spiral shape starting in the middle of the rose and working to the edge, using long tail to secure into shape.
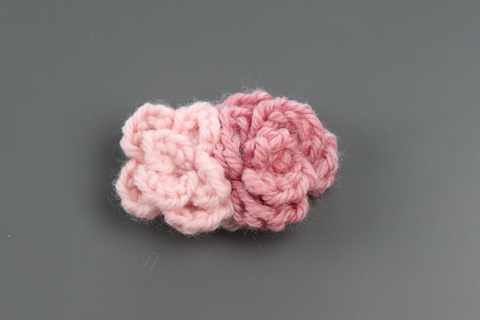
Different combinations of roses, creates different looks
The fun thing about crochet is that you get to create the look and feel that you want to portray with your faux fur amigurumi snugglers. Try making a crochet rose with worsted weight yarn for a different look, with my free 5 Minute YouTube Tutorial:
Or try it with pink worsted weight yarn…..
