How to Crochet Buffalo Amigurumi
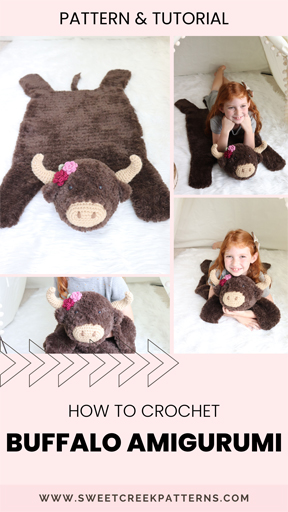
Creating a crochet buffalo opens up a range of possibilities for both decorative and functional uses. Remember to let your creativity shine and adapt the crochet buffalo to suit your personal style and preferences. Crocheted buffalo loveys make unique and thoughtful additions to various aspects of your life and for special occasions, including: baby shower gifts, buffalo nursery decor, photo props, a unique milestone blanket, tummy time mats, and finally something soft for your little one to snuggle with as they fall asleep.
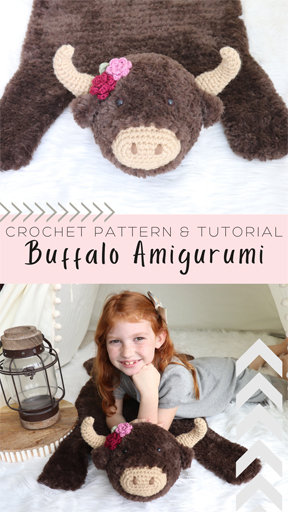
Buy the AD-FREE Buffaol Crochet Collection:
XS Buffalo Lovey Crochet Pattern
Small Buffalo Lovey Crochet Pattern
Medium Buffalo Lovey Crochet Pattern
BUNDLE Buffalo Collection- XS, Small, and Medium patterns
LEFT Handed Crochet Buffalo Tutorial
What can I do with Crochet Buffalo?
Here are some other ideas for what you can do with a crochet buffalo:
- Home Decor:
Create a themed room incorporating the crochet buffalo into your decor, especially if you have a rustic or wildlife-inspired aesthetic. - Baby Gifts:
Gift the crochet buffalo to someone expecting a new baby. You can customize the buffalo to matcht the recipient’s nursery colors and style. - Photography Prop:
If you enjoy photography or have a new little one, use the crochet buffalo lovey as a prop in photoshoots creating an adorable wildlife or nature theme. - Keychain or Bag Charm:
Using a very small crochet hook and fine fingering weight yarn create a smaller version of the crochet buffalo and turn it into a keychain or bag charm. - Children’s Play:
Make a set of crochet lovey animals, including the buffalo for children to snuggle and play with. - Wall Hanging
Incorporate the crochet buffalo into a wall hanging or tapestry. You can combine it with other crochet elements or materials like driftwood or fabric. - Sell Your Creations:
If you enjoy crocheting and want to share your creations with others, consider selling your crochet buffalo on platforms like Etsy or at local craft fairs.
How do I create a handmade buffalo themed nursery?
Whether you’re a Buffalo Bills football fan, a NDSU Bison football fan, or just love the country feeling of buffalos, with this simple Buffalo Crochet Lovey Pattern, you can build a buffalo nursery theme around your Crochet Buffalo projects. From neutral buffalo wall decor, to cute snuggly crochet buffalo, creating a handmade buffalo nursery can be a fun and creative project. Here are some steps to consider getting you started:
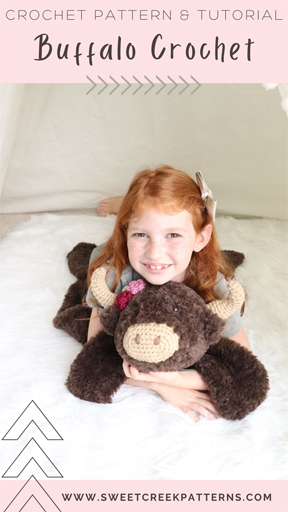
- Theme and Color Scheme
Consider the theme you want for your nursery. Popular choices might include a rustic, outdoorsy, or woodland theme. Then, choose colors that will compliment your theme, including earthy tones like browns, greens, and blues work well for a buffalo-themed nursery. - Wall Decor
Consider buffalo-themed wallpaper, wall decals, and artwork. You can find customizable illustrations on Etsy that will match your theme and personalize your baby nursery. - Furniture
Select furniture that fits your nursery theme. Rustic wooden cribs and dressers can enhance the overall feel. You can also incorporate buffalo-themed bedding for the crib, such as sheet and blankets with buffalo prints. - Handmade Crochet Decorations:
Create this adorable crochet buffalo to personalize your nursery. From this crochet pattern you could make buffalo-shaped throw pillows, wall hangings, or mobiles. Consider crocheting other buffalo plush toys or fabric banners with buffalo motifs. - Buffalo Accessories:
Look for buffalo-themed accessories such as lamps, rugs, and curtains to tie the room together. Consider using buffalo check patterns for curtains or pillows to add a touch of the outdoors. - Natural Elements:
Bring in natural elements to enhance the rustic feel, including: wooden accents, potted plants, or even faux animal skins- like your buffalo crochet lovey. - Personal Touch:
Add personal touches like handmade crocheted items from friends and family, or create DIY buffalo projects that have sentimental value. Include photographs of buffalos or pictures of your family in buffalo-themed frames. - Functional Spaces
Ensure the nursery is functional and organized. Use storage solutions that fit the theme, such as baskets or bins with buffalo crochet motifs. You can also create a cozy reading nook with buffalo-themed cushions and a small bookshelf.
Left Handed Crochet Rose Video
Crochet Buffalo Amigurumi Pattern
To start your crochet buffalo amigurumi pattern, there are a few supplies you will need to gather:
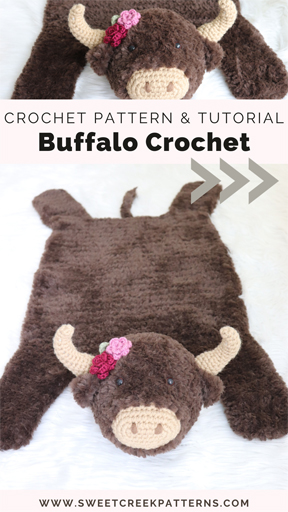
MATERIALS NEEDED:
HOOKS
3.5 mm • US size E
10 mm • US size N/P (or hook to obtain gauge)
YARNS
Color A (muzzle, horn, and inner ear yarn)
#4 Worsted Weight • Approx 12 yds used
Color B (nostrils)
#4 Worsted Weight • Approx .3 yds used
Color C (faux fur yarn for body and outer ears)
#6 Super Bulky • Approx 91 yds used
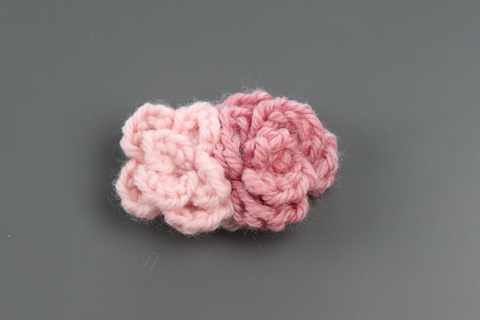
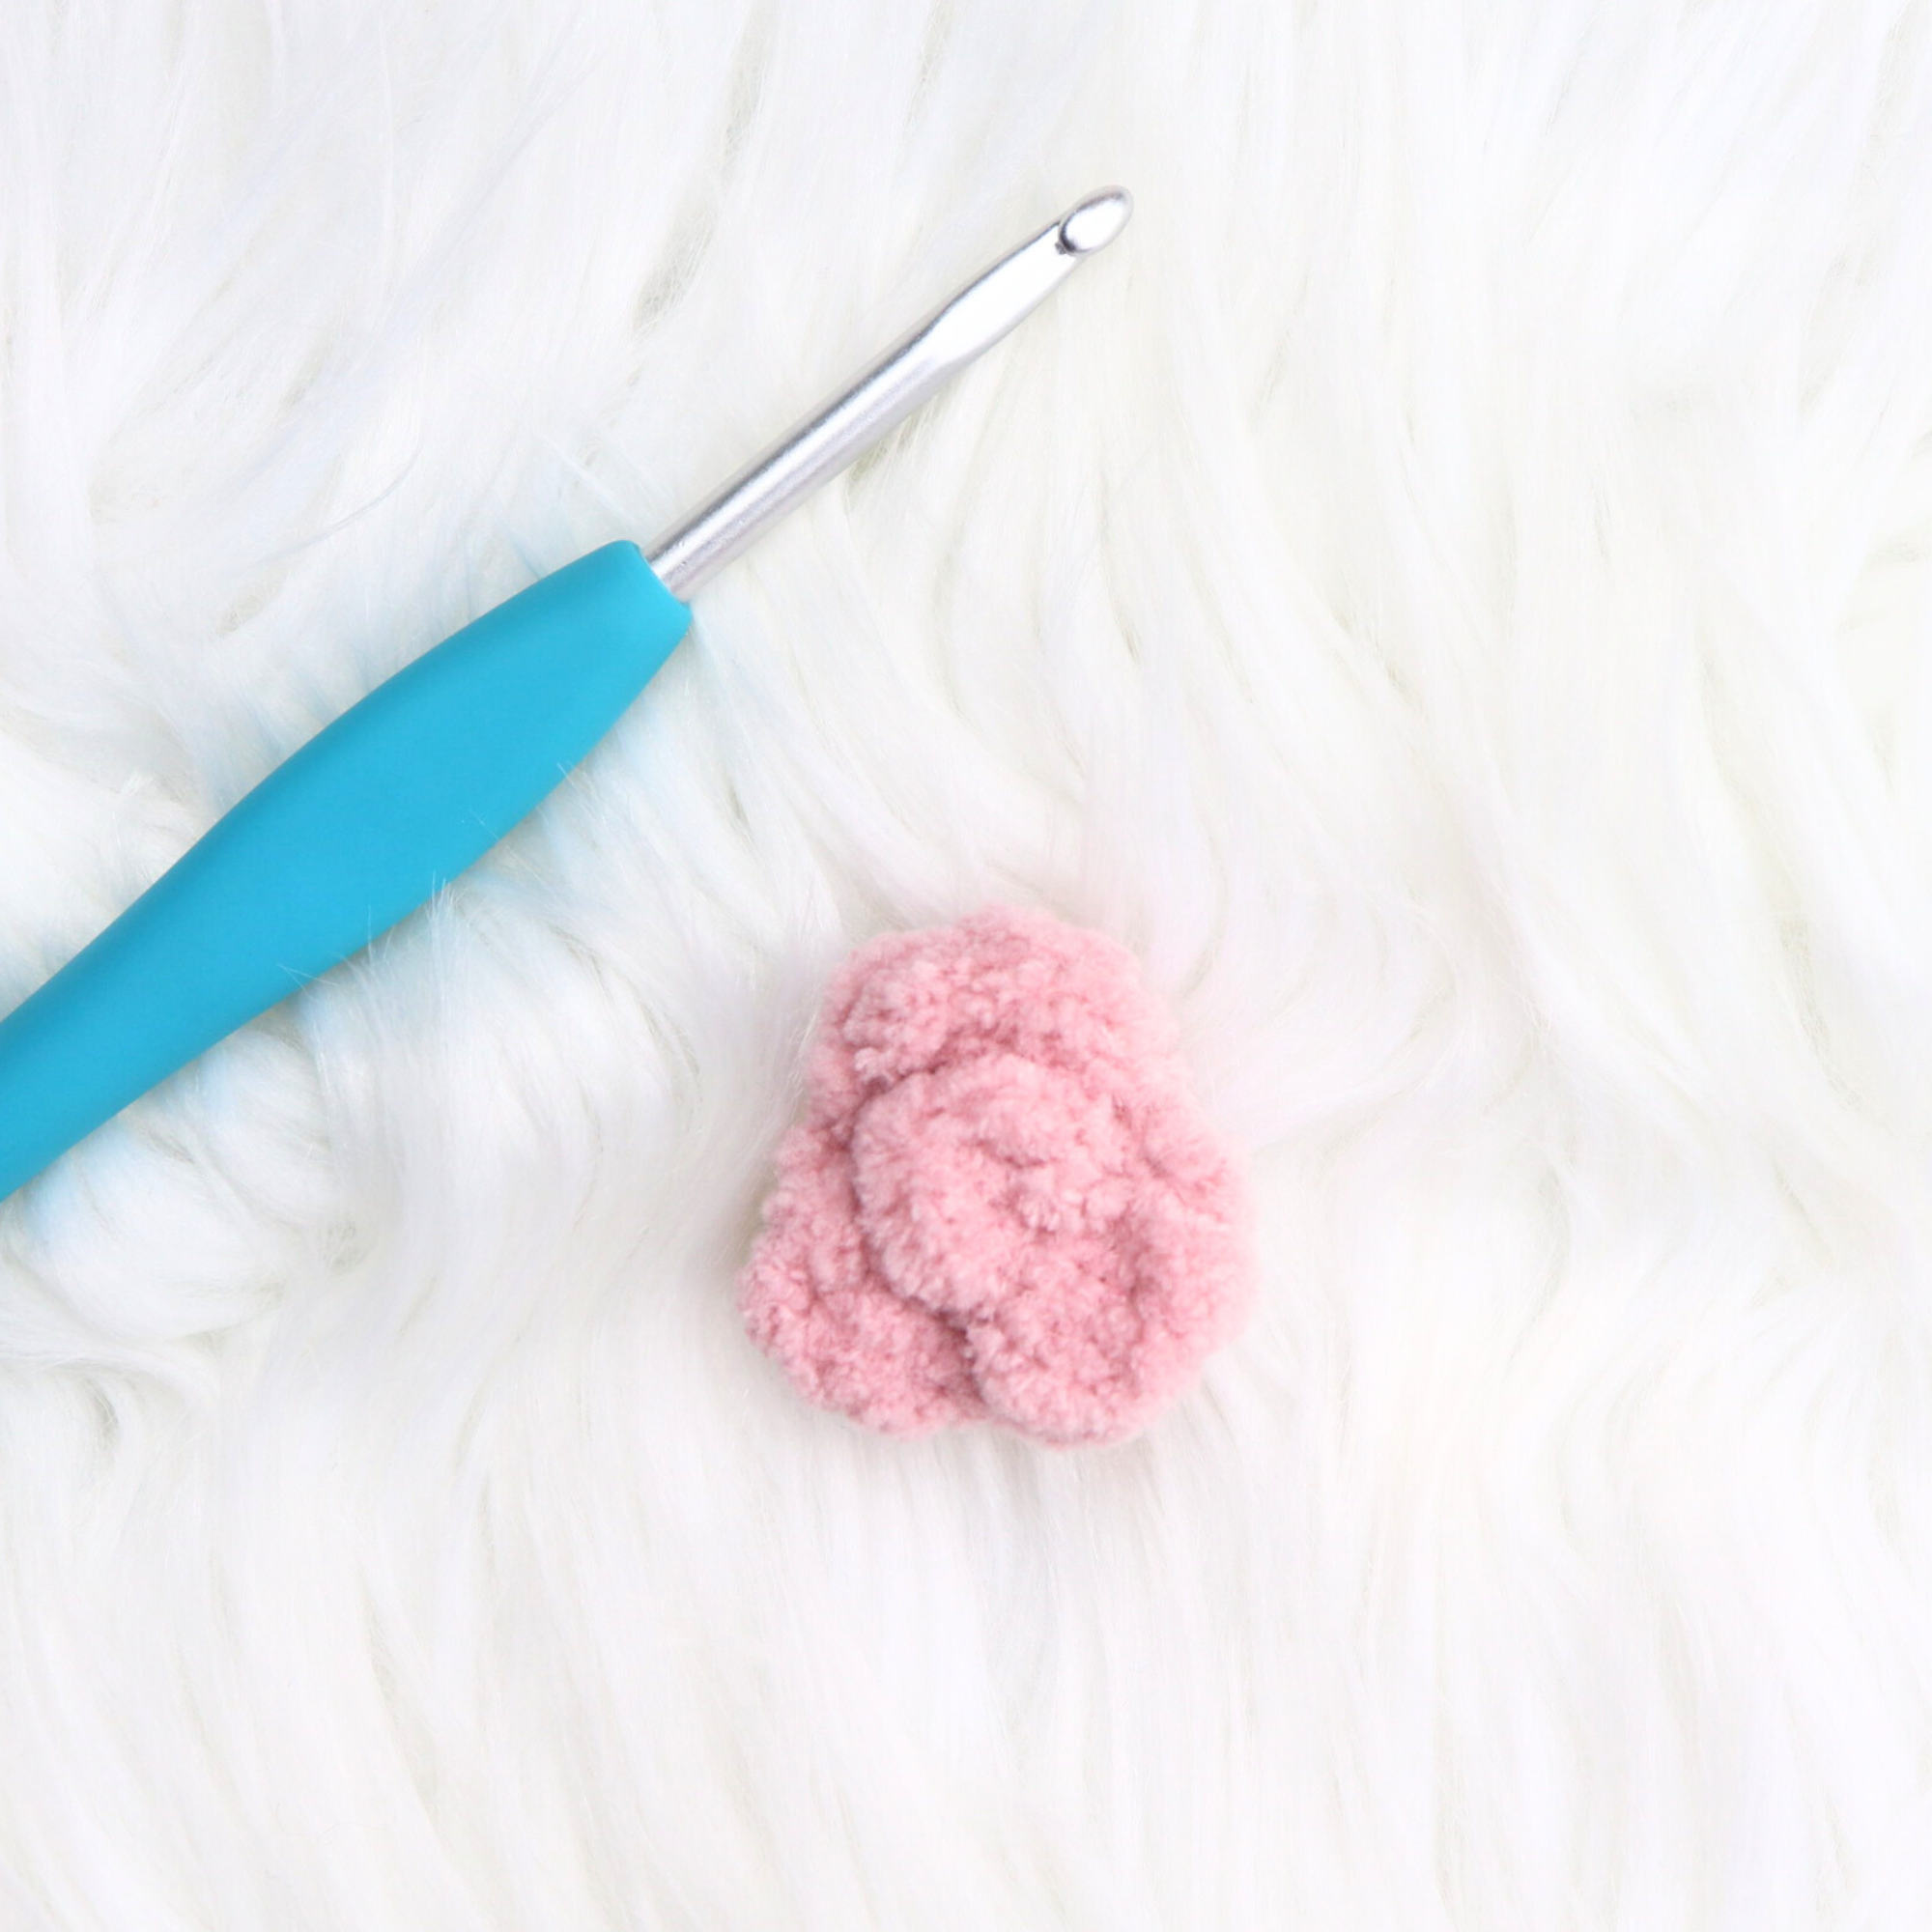
Color D (dark pink rosette yarn)
#4 Worsted Weight • Approx 9 yds used
Color E (light pink rosette yarn)
#4 Worsted Weight • Approx 4 yds used
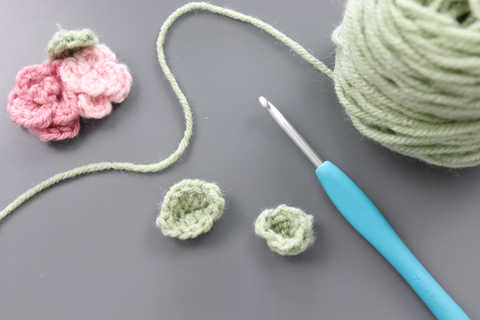
Color F (leaf yarn)
#4 Worsted Weight • Approx 1 yd used
NOTIONS
Scissors, stitch marker, darning needle, poly-fil, 12 mm safety eyes, hot glue to secure safety eyes
GAUGE (4″x 4″), 10mm hook with Faux Fur
8 sts x 8 rows sc in each st
GAUGE (4″x 4″), 6mm hook, 2 strands, color A
12 sts x 14 rows sc in each st
FINAL SIZE
10″W x 16″L
Yarns Used to Crochet Buffalo Lovey
Muzzle, Horns, and Inner Ears:
-Premier Basix Worsted in the color Buff.
Body & Outer Ears:
-WeCrochet Fable Fur Oso
Nostrils:
-Premier Basix Worsted Pecan
Rosette, and Leaf:
–Premier Basix Worsted Light Mauve, Blush, Sage
*I use affiliate links that I receive a small commission at no cost to the customer.
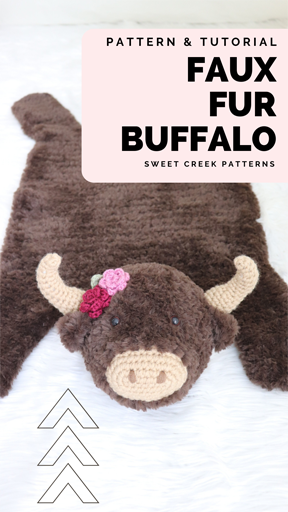
Abbreviations
ch chain
sc single crochet
hdc half double crochet
dc double crochet
st stitch
ea each
sp space
sk skip stitch
sl st slip stitch
mc magic circle
inc 2 single crochet in the same stitch
sp space
blo back loop only
sc2tog single crochet 2 together
Pattern Notes for Buffalo Crochet Pattern
- Ch 1 does not count as a stitch throughout pattern.
- If using a different weight of yarn, or a yarn that isn’t furry, you will need to change the hook size to accommodate that yarn. However, if you change a hook size please change ALL hook sizes proportionally to those I recommend.
- You can find tips and tutorials for crocheting with faux fur yarn on my YouTube channel www.youtube.com/@sweetcreekpatterns
- Even if you are using a #4 worsted weight yarn, sometimes the horns and muzzle will turn out VERY tiny, and with a lot of holes. So, make sure you do gauge, and if you don’t hit gauge, use 3 strands.
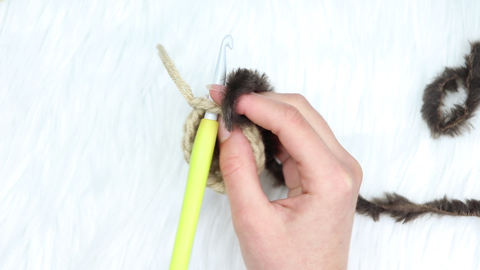
Buffalo Amigurumi Crochet Pattern
MUZZLE: Using 2 strands of color A, 6mm hook:
*Note* The muzzle and head is worked in the round.
Rnd 1: Ch 5, sc in 2nd ch from hook, sc in next 2 sts, sc 3 into last ch, sc in next 2 sts, sc-inc in last st. (10)
Rnd 2: Sc-inc in first st, sc in next 2 sts, sc-inc in next 3 sts, sc in next 2 sts, sc-inc in last 2 sts. (16)
Rnd 3: Sc in each st around. (16)
Rnd 4: *Ch 1, sk 1, sc in next st, repeat from* to first ch 1 sp. (8 ch-sps)
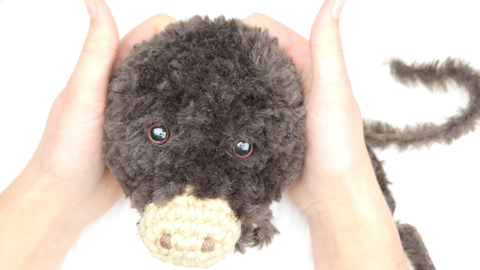
Tie off. *Note* At this point you’ll add the Nostrils, so complete the following:
insert your darning needle on the outside ch, then wrap around 4 times going 1 rnd up, see picture.
HEAD: Using 1 strand of color B, 7mm hook
Please Note: I use a Stitch Marker so that I know where the row ends and also to mark where the different stitches begin/end.
Note: if using faux fur yarn, make sure to have the wrong side facing out. If using other types yarn it doesn’t matter. The entire head is worked in the round.
Rnd 1: Insert hook into the last ch-sp created, ch 1, *sc in first ch-sp, sc-inc in next st, repeat from* to end of rnd. (12)
Rnd 2: Sc in each st around. (12)
Rnd 3: *Sc-inc, sc,* x 3, sc-inc in next st, sc in last 5 sts. (16)
Rnd 4: *Sc-inc, sc,* x 4, sc-inc in next st, sc in last 7 sts. (21)
Rnd 5: Sc in each st around. (21)
Rnd 6: *Sc-inc, sc,* x 6, sc-inc in next st, sc in last 8 sts. (28)
Rnd 7: *Sc-inc, sc in next 3 sts,* x 3, sc-inc in next st, sc in next 15 sts. (32)
Rnds 8-11: Sc in ea st around (4 rnds). (32)
Rnd 12: *Sc2tog, sc,* x 8, sc2tog, sc in last 6 sts. (23)
Rnd 13: *Sc2tog, sc,* x 7. sc2tog over last 2 sts. (15)
Tie off and weave in ends, the head should remain open!
ATTACH 12 mm safety eyes on round 4 of Head, 5 stitches apart. I also recommend hot gluing the eyes on the inside of the head for extra security.
STUFF head with poly-fil.
BODY: Using 1 strand of color B (faux fur), 10mm hook:
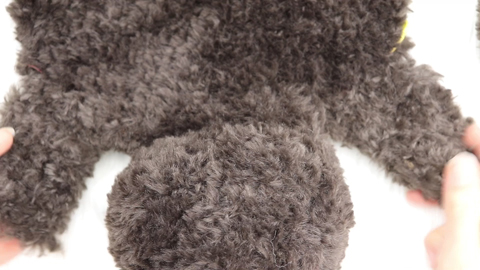
The Body will connect to the Head and close off the opening in the back of the head, so it is important that you have everything done with the Head, including: safety eyes attached, and stuffing inside of the Head.
Pinching the top and bottom of the back of the head together, continue as follows:
Row 1: Ch 2, insert hook into Head (to crochet the head shut), sc 7 sts across the head, then ch 2. (11)
Row 2: Ch 1, turn, sc-inc in 2nd ch from hook, sc in next 9 sts, sc-inc in last ch. (13)
Row 3: Ch 1, turn, sc-inc in first st, sc in next 11 sts, sc-inc in last st. (15)
Row 4: Ch 1, turn, sc-inc in first st, sc in next 13 sts, sc-inc in last st. (17)
Row 5: Ch 1, turn, sc-inc in first st, sc in next 15 sts, sc-inc in last st. (19)
Row 6: Ch 1, turn, sc-inc in first st, sc in next 17 sts, sc-inc in last st. (21)
*Note: add a stitch marker on both sides of the last increase row, you will NEED them later for adding the arms*
Rows 7-22: Ch 1, turn, sc in ea st across (16 rows). (21)
Do NOT tie off, continue on next page
LEGS: Using 1 strand of color B (faux fur), 10mm hook:
Hind Leg #1
Row 23: Ch 1, turn, sc in first 4 sts. (4)
Rows 24-29: Ch 1, turn, sc 4 (6 rows). (4)
Tie off and weave in ends.
Hind Leg #2
Insert your hook in the corner (opposite of the other leg), then yarn over and pull the yarn through.
Row 1: Ch 1, sc in first 4 sts. (4)
Rows 2-7: Ch 1, turn, sc 4 (6 rows). (4)
Tie off and weave in ends.
Front Legs #3-4
Insert your hook (where your stitch marker is) in the corner by the head where you stopped increasing, then yarn over and pull the yarn through, working towards the head.
Row 1: Ch 1, sc in first 4 sts. (4)
Rows 2-7: Ch 1, turn, sc 4 (6 rows). (4)
Tie off weave in all ends.
EDGING: Using 1 strand of color B (faux fur), 10mm hook:
Start at one side of the neck where the body attaches to the head and work your way around the body to the other side of the neck.
Rnd 1: Starting at the neck, sc around all of the bison’s body going to the top of the paw, in the top of each paw, sc-inc in the corner, hdc in the next st, dc in next st, hdc and sc in the corner, then continue around the body repeating the steps above in each paw.
Tie off and weave in ends.
HORNS: Using 2 strands of color A, 6mm hook, make 2:
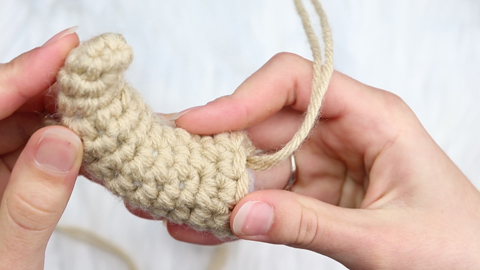
*Note* Leave a long tail on your magic circle as you will make a knot with that at the end of making the horn.
Rnd 1: Make a magic circle, sc 4 into magic circle, sl st to join. (4)
Rnd 2: Do NOT ch 1 as you will begin working in the round, sc-inc in first st, sc in last 3 sts. (5)
Rnds 3-4: Sc in ea st around (2 rnds). (5)
Rnd 5: Sc-inc in first st, sc in next st, sc-inc in next st, sc in last 2 sts. (7)
Rnds 6-10: Sc in each st around (5 rnds). (7)
Rnd 11: *Sc-inc in first st, sc in next st, repeat from* 3 times, sc in last st. (10)
Tie off, leaving long tail to sew onto Head.
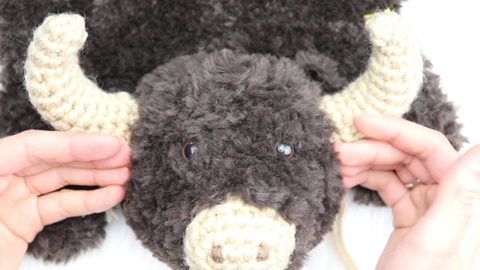
Stuff the Horn with poly-fil (making sure to hold the long tail you left on your Magic circle) and once you have stuffed the horn pull the magic circle tail to form a curved horn, then make several knots with the long tails (see pic). Then whip stitch onto head on Rnd 10, 10 sts apart.
OUTER EARS: Using 1 strand of color B (faux fur), 6mm hook, make 2:
Row 1: Ch 5, sc in 2nd ch from hook, sc in next ch, sc2tog over last 2 chs, sc again in last ch, sc2tog over bottom 2 chs, sc in last 2 chs. (7)
Row 2: Ch 1, turn, sc in each st around. (7)
Tie off leaving long tail to sew onto head.
INNER EARS: Using 1 strand of color A, 3.5mm hook, make 2:
Row 1: Ch 5, sc in 2nd ch from hook, sc in next ch, sc2tog over last 2 chs, sc again in last ch, sc2tog over bottom 2 chs, sc in last 2 chs. (7)
Tie off leaving long tail to whip stitch ears together.
Attaching inner ear to outer ear:
Place the Inner Ear inside of the Outer Ear, and sew onto the outer ear around the edge.
Attaching ears to head:
Place the ears on round 9 of bison head (in front of horns), 10 stitches apart across the top of head, and whip stitch the flat side of the ears onto the head. The semi circle should be the visible part.
LEFT Handed Crochet Leaf Tutorial

Buy the AD-FREE Buffaol Crochet Collection:
XS Buffalo Lovey Crochet Pattern
Small Buffalo Lovey Crochet Pattern
Medium Buffalo Lovey Crochet Pattern
BUNDLE Buffalo Collection- XS, Small, and Medium patterns
Other Crochet Amigurumi Patterns from Sweet Creek Patterns
Turtle Amigurumi Crochet Pattern
Bunny Amigurumi Crochet Pattern
Elephant Amigurumi Crochet Pattern
Koala Amigurumi Crochet Pattern

