Dog Bone Stocking | Granny Stocking Free Crochet Pattern
This adorable Dog Bone Granny Stitch Stocking is part of the Marly Bird 24 Days of Quickies 2023. I have teamed up with some fantastic designer friends to help you make your crochet and knit dreams come true. Together we will share last minute patterns that are quick and easy to complete in one day! So let’s get started!!!
Get you FREE pattern pdf download of the Dog Bone Granny Stitch Stocking at the RED “Marly Bird Link” at the bottom of the post, offer expires 12-3-23 at 9am.
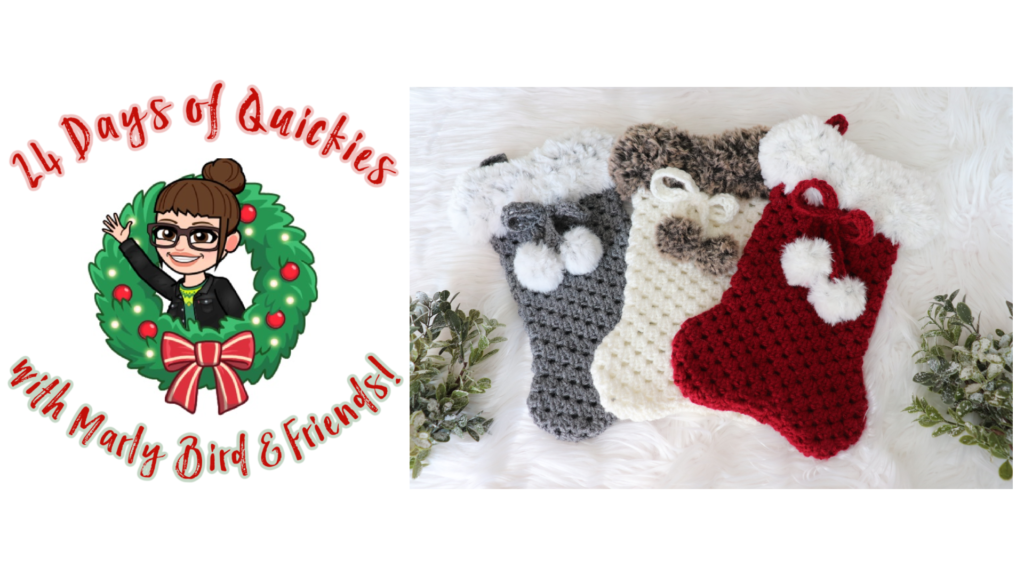
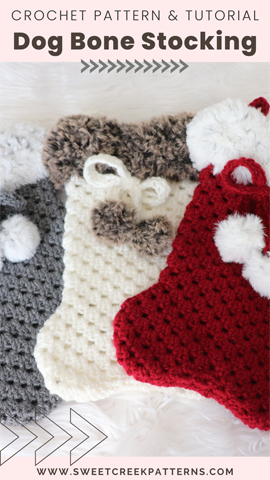
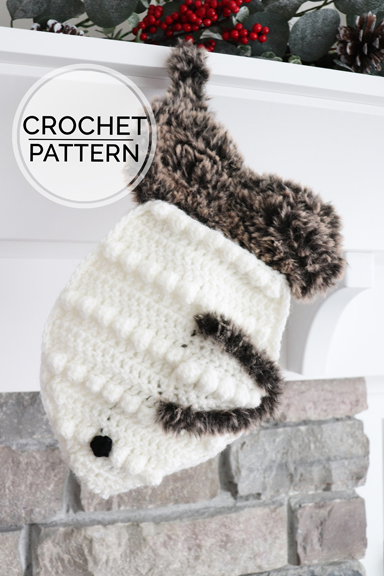
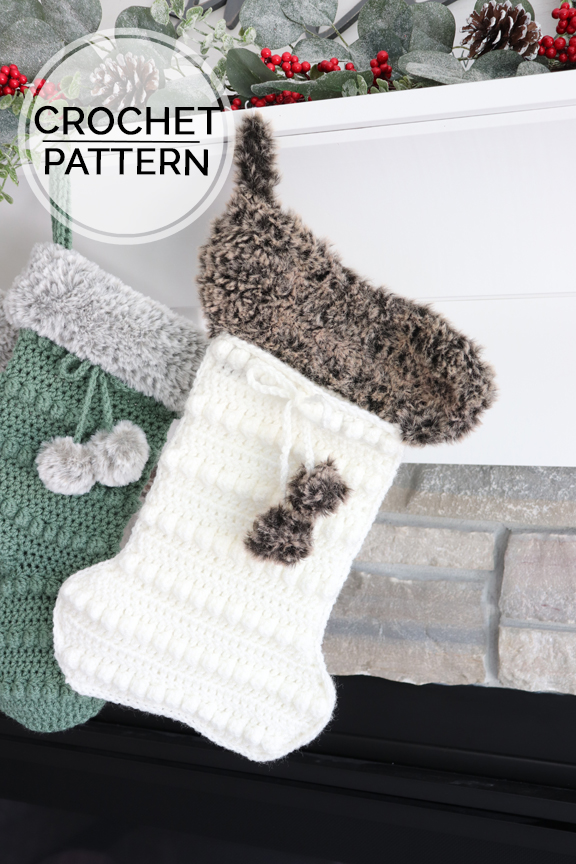
Introducing the Dog Bone Granny Stitch Stocking! This stocking is perfect for the little pawed friends in your family, and works up quick and easy. With its easy top-down construction, beginner-friendly granny stitch, and luxurious faux fur on the top of the stocking, you’ll enjoy crocheting the perfect dog bone stocking for your favorite pawed friends!
Find more FREE Crochet & Knit patterns from the Marly Bird 24 Days of Quickies 2023
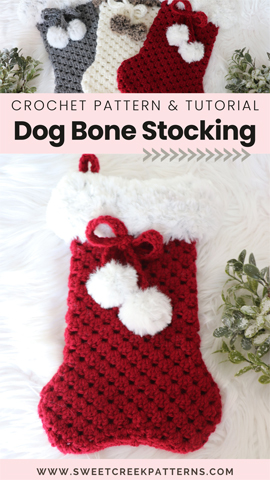
The dog bone granny stitch stocking crochet pattern is created using a single strand #4 worsted weight yarn, #6 bulky faux fur yarn, and a 5mm crochet hook. The finished size is 12″H x 6″W across the middle. The dense granny stitch adds a thick bulky feel to the stocking giving it the ability to hold the perfect Christmas gifts for your pawed friends.
The granny stitch is considered one of the easiest crochet stitches to learn, therefore making it suitable for beginners. The basic granny stitch is a fantastic starting point for beginners to learn and enjoy the craft of crochet. As makers become more comfortable with the granny stitch, they can explore more advanced crochet patterns and techniques. By working in clusters of three double crochet stitches (dc) and creating chain spaces at the corners of the clusters, makers achieve the classic granny stitch look. Feel free to experiment with different yarn weights, colors, and modifications to the granny stitch pattern to suit your preferences and the intended us of your project. The possibilities are endless!
How do you crochet the Granny Stitch?
This step by step video tutorial will help you feel confident when you crochet the basic granny stitch. It will go on to teach advanced crochet techniques of increasing and decreasing with the granny stitch.
LEFT Handed Granny Stitch Tutorial
Granny Stitch Christmas Collect Crochet Patterns by Sweet Creek Patterns
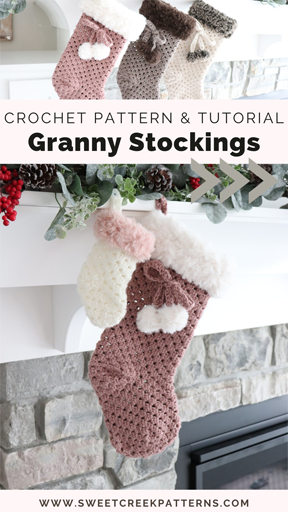
Have you ever fallen in love with a crochet stitch so much that you want to use it in every pattern you design? That’s what happened with my Granny Stitch Christmas Collection! Who wouldn’t want a complete set of matching Christmas decor accessories featuring their favorite granny stitch to create holiday cheer for the whole family. Come along with me and let’s create some holiday cheer for little ones to big ones and every pawed member in-between!
This Dog Bone Granny Stitch Stocking is part of the Granny Stitch Christmas Collection by Sweet Creek Patterns. Check out all the other crochet patterns that are part of this collection and spread holiday cheer by making your next crochet project from this collection! Collection includes……
GRANNY STITCH CHRISTMAS COLLECTION:
Granny Stitch Stocking Pattern
Mini Granny Stitch Stocking Pattern
Dog Bone Granny Stocking Pattern
Large Dog Bone Granny Stocking – COMING SOON
Cat Granny Stocking- COMING SOON
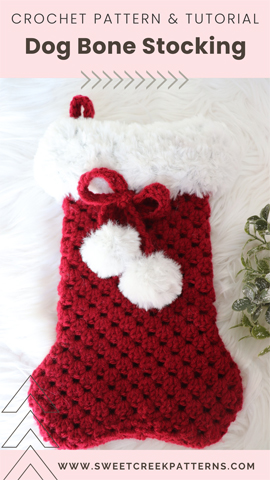
How to crochet the Dog Bone Granny Stitch Stocking
MATERIALS
HOOK
5mm • US size I (or hook to obtain gauge)
YARN
Color A
#4 Worsted Weight • Approx 50 yds used
Color B (faux fur yarn)
#6 Super Bulky • Approx 10 yds used

NOTIONS
Scissors, Stitch marker, Darning needle.
GAUGE (4″x4″)
5 sts x 10 rows in pattern
FINAL SIZE
12″H X 6″W across the middle
YARNS USED
CUFF: any #6 Super Bulky Weight Yarn
Yarn Recommendations:
-Lion Brand Go For Faux
–WeCrochet Fable Fur Eisbar

STOCKING: any #4 Worsted Weight Yarn
Yarn Recommendations:
–Premier Basix Worsted
–Red Heart Super Saver
Any items on this page that are underlined are a clickable link.
Disclaimer: Links on this page may be affiliate links. If you purchase a product with any of the links provided, I may receive a small commission at zero extra cost to you.

ABBREVIATIONS
ch chain
dc double crochet
sc single crochet
dc3tog double crochet 3 stitches together
st stitch
sl st slip stitch
mc magic circle
inc increase
dc-cluster 3 double crochets into 1 space
dc-inc-cluster 6 double crochets into 1 space
dc-cluster-dec 2 dc into first sp, 1 dc in next sp
rnd(s) round(s)
sp space
** repeat stitches
( ) number of clusters at end of rnd
PATTERN NOTES
- Between each granny cluster, do NOT ch 1 as it makes too many holes.
- You may need to adjust the hook sizes depending on what weight of yarn you use for the stocking and cuff.
- If desired, the ch 2 to begin each rnd can count as your first dc.
RIGHT Handed Tutorial:
LEFT Handed Tutorial:
BODY OF STOCKING
Using color A and 5mm crochet hook:
*Note* For whole pattern, sl st into first dc of each round.
*Note* Ch 2 will be at the beginning of the first cluster on alternative rounds.
Rnd 1: Ch 52, sl st to first ch, dc-cluster in first ch (where you sl st’d), dc-cluster in 4th ch around. (13 clusters)
Rnds 2-16: Ch 2, dc-cluster in each sp around (15 rnds). (13 clusters)
Rnd 17: Ch 2, dc-cluster in first 3 sps, dc-inc-cluster in next sp, dc-cluster in next 6 sps, dc-inc-cluster in next sp, dc-cluster in last 2 sps, sl st to join. (15 clusters)
*Note* some of the clusters for this round will fall between the cluster increases in round 17.
Rnd 18: Ch 2, dc-cluster in first 3 sps, dc-inc-cluster in next sp, dc-cluster in next 7 sps, dc-inc-cluster in next sp, dc-cluster in last 3 sps, sl st to join. (17 clusters).
Rnd 19: Ch 2, dc-cluster in first 4 sps, dc-inc-cluster in next sp, dc-cluster in next 8 sps, dc-inc-cluster in next sp, dc-cluster in last 3 sps, sl st to join. (19 clusters).
Rnds 20-22: Ch 2, dc-cluster in each sp around, sl st to join (3 rnds). (19 clusters)
Rnd 23: Ch 2, dc-cluster in first 4 sps, dc-cluster-dec over next 2 sps, dc-cluster in next 8 sps, dc-cluster-dec over next 2 sps, dc-cluster in last 3 sps, sl st to join. (17 clusters).
*Note* the decreases that we did on Rnd 23 count as ONE cluster.
Rnd 24: Ch 1, hdc-cluster in first sp, dc-cluster in next 6 sps, hdc-cluster in next sp, sc-cluster in next sp, hdc-cluster in next sp, dc-cluster 5 in next 5 sps, hdc-cluster in next sp, sc-cluster in last sp, sl st to join. (17 clusters).
Rnd 25: Ch 1, sc-cluster, hdc-cluster, dc-cluster, dc-cluster-dec over next 2 sps, dc-cluster in next 2 sps, hdc-cluster, sc-cluster in next 2 sps, hdc-cluster, dc-cluster, dc-cluster-dec over next 2 sps, dc-cluster, hdc-cluster, sc-cluster, sl st to join. (15 clusters)
Rnd 26: Ch 1, sc-cluster, hdc-cluster, dc-cluster-dec over next 2 sps, dc-cluster, hdc-cluster, sc-cluster in next 3 sps, hdc-cluster, dc-cluster-dec over next 2 sps, hdc-cluster, sc-cluster in next 2 sps, sl st to join. (13 clusters)
You have now completed the body of stocking, now you are going to flip the stocking inside out, and you will sc across the bottom of the stocking to join the two bottom edges and enclose the stocking, see picture.

CUFF
Using color B and 5mm crochet hook:
*Note* Work between the clusters of rnd 1 of the stocking, starting where the tail is, see pic.
Rnd 1: Ch 2, dc-cluster in first 2 sps, dc-inc-cluster in next sp, dc-cluster in next 6 sps, dc-inc-cluster in next sp, dc-cluster in last 3 sps, sl st to join. (15 clusters)
Rnd 2: Ch 2, dc-cluster in first 3 sps, dc-inc-cluster in next sp, dc-cluster in next 7 sps, dc-inc-cluster, dc-clusters in last 3 sps, sl st to join. (17 clusters)
Rnd 3: Ch 1, sc-cluster, hdc-cluster, dc-cluster in next 6 sps, hdc-cluster, sc-cluster, hdc-cluster, dc-cluster in next 5 sps, hdc-cluster, sl st. (17 clusters)
Rnd 4: Ch 1, sc-cluster, hdc-cluster, dc-cluster, dc-cluster-dec, dc-cluster 2, hdc-cluster, sc-cluster 2, hdc-cluster, dc-cluster, dc-cluster-dec, dc-cluster, hdc-cluster, sc-cluster, sl st. (15 clusters)
Rnd 5: Sc-cluster 2, hdc-cluster, dc-cluster-dec, dc-cluster, hdc-cluster, sc-cluster 3, hdc-cluster, dc-cluster-dec, hdc-cluster, sc-cluster, sl st. (13 clusters)
Tie off and weave in tails.
HANGER
(Optional) Using color A and 5mm crochet hook:
Row 1: Ch 25, dc in 3rd ch from hook, sk 2 chs in 3rd ch dc-cluster, *in 4th ch dc-cluster, repeat from* to end of row, you should have 3 chs left, dc in last ch. (5 clusters)
Tie off leaving long tail. Sew the top and bottom together (making a loop), then fasten to, the inside of stocking.
BOW
(Optional) Using color A and 5mm crochet hook:
Row 1: Ch 65, dc in 3rd ch from hook, sk 2 chs in 3rd ch dc-cluster, *in 4th ch dc-cluster, repeat from* to end of row, you should have 3 chs left, dc in last ch. (15 clusters)
Tie off leaving long tail. to sew bobbles on. To attach the “strand” to the stocking, insert your hook around the center of rnd 2 “right” side of stocking facing up, and pull the “strand” that you just made through, then make a bow like you would normally!
BOBBLES
(optional) Using color B and 5mm crochet hook, make 2:
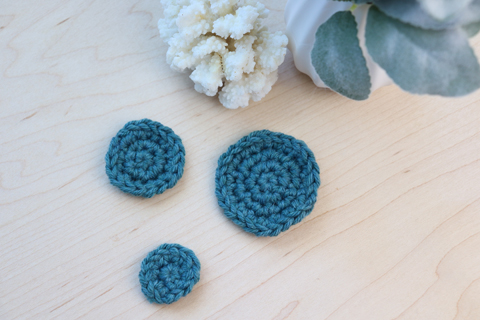
Rnd 1: Make a magic circle, ch 1, sc 5 into ring, do not sl st, as you will begin working in the rnd. (5)
Rnd 2: Sc-inc in ea st around. (10)
Rnd 4: Sc2tog in ea st around. (5)
Tie off, weave in ends! Attach to the end of each bow “strand”.
Congratulations on completing the cutest Dog Bone stocking ever! Please tag me with your creation @SweetCreekPatterns! I would LOVE to cheer you on!!

Need 24 quick knit and crochet projects for gifts this holiday season? You will find the perfect quick knit and quick crochet projects RIGHT HERE over the next 24 days with Marly Bird & Friends 24 Days of Quickies!
PIN NOW, CROCHET LATER
