How to Block Crochet Granny Squares with a Blocking Board
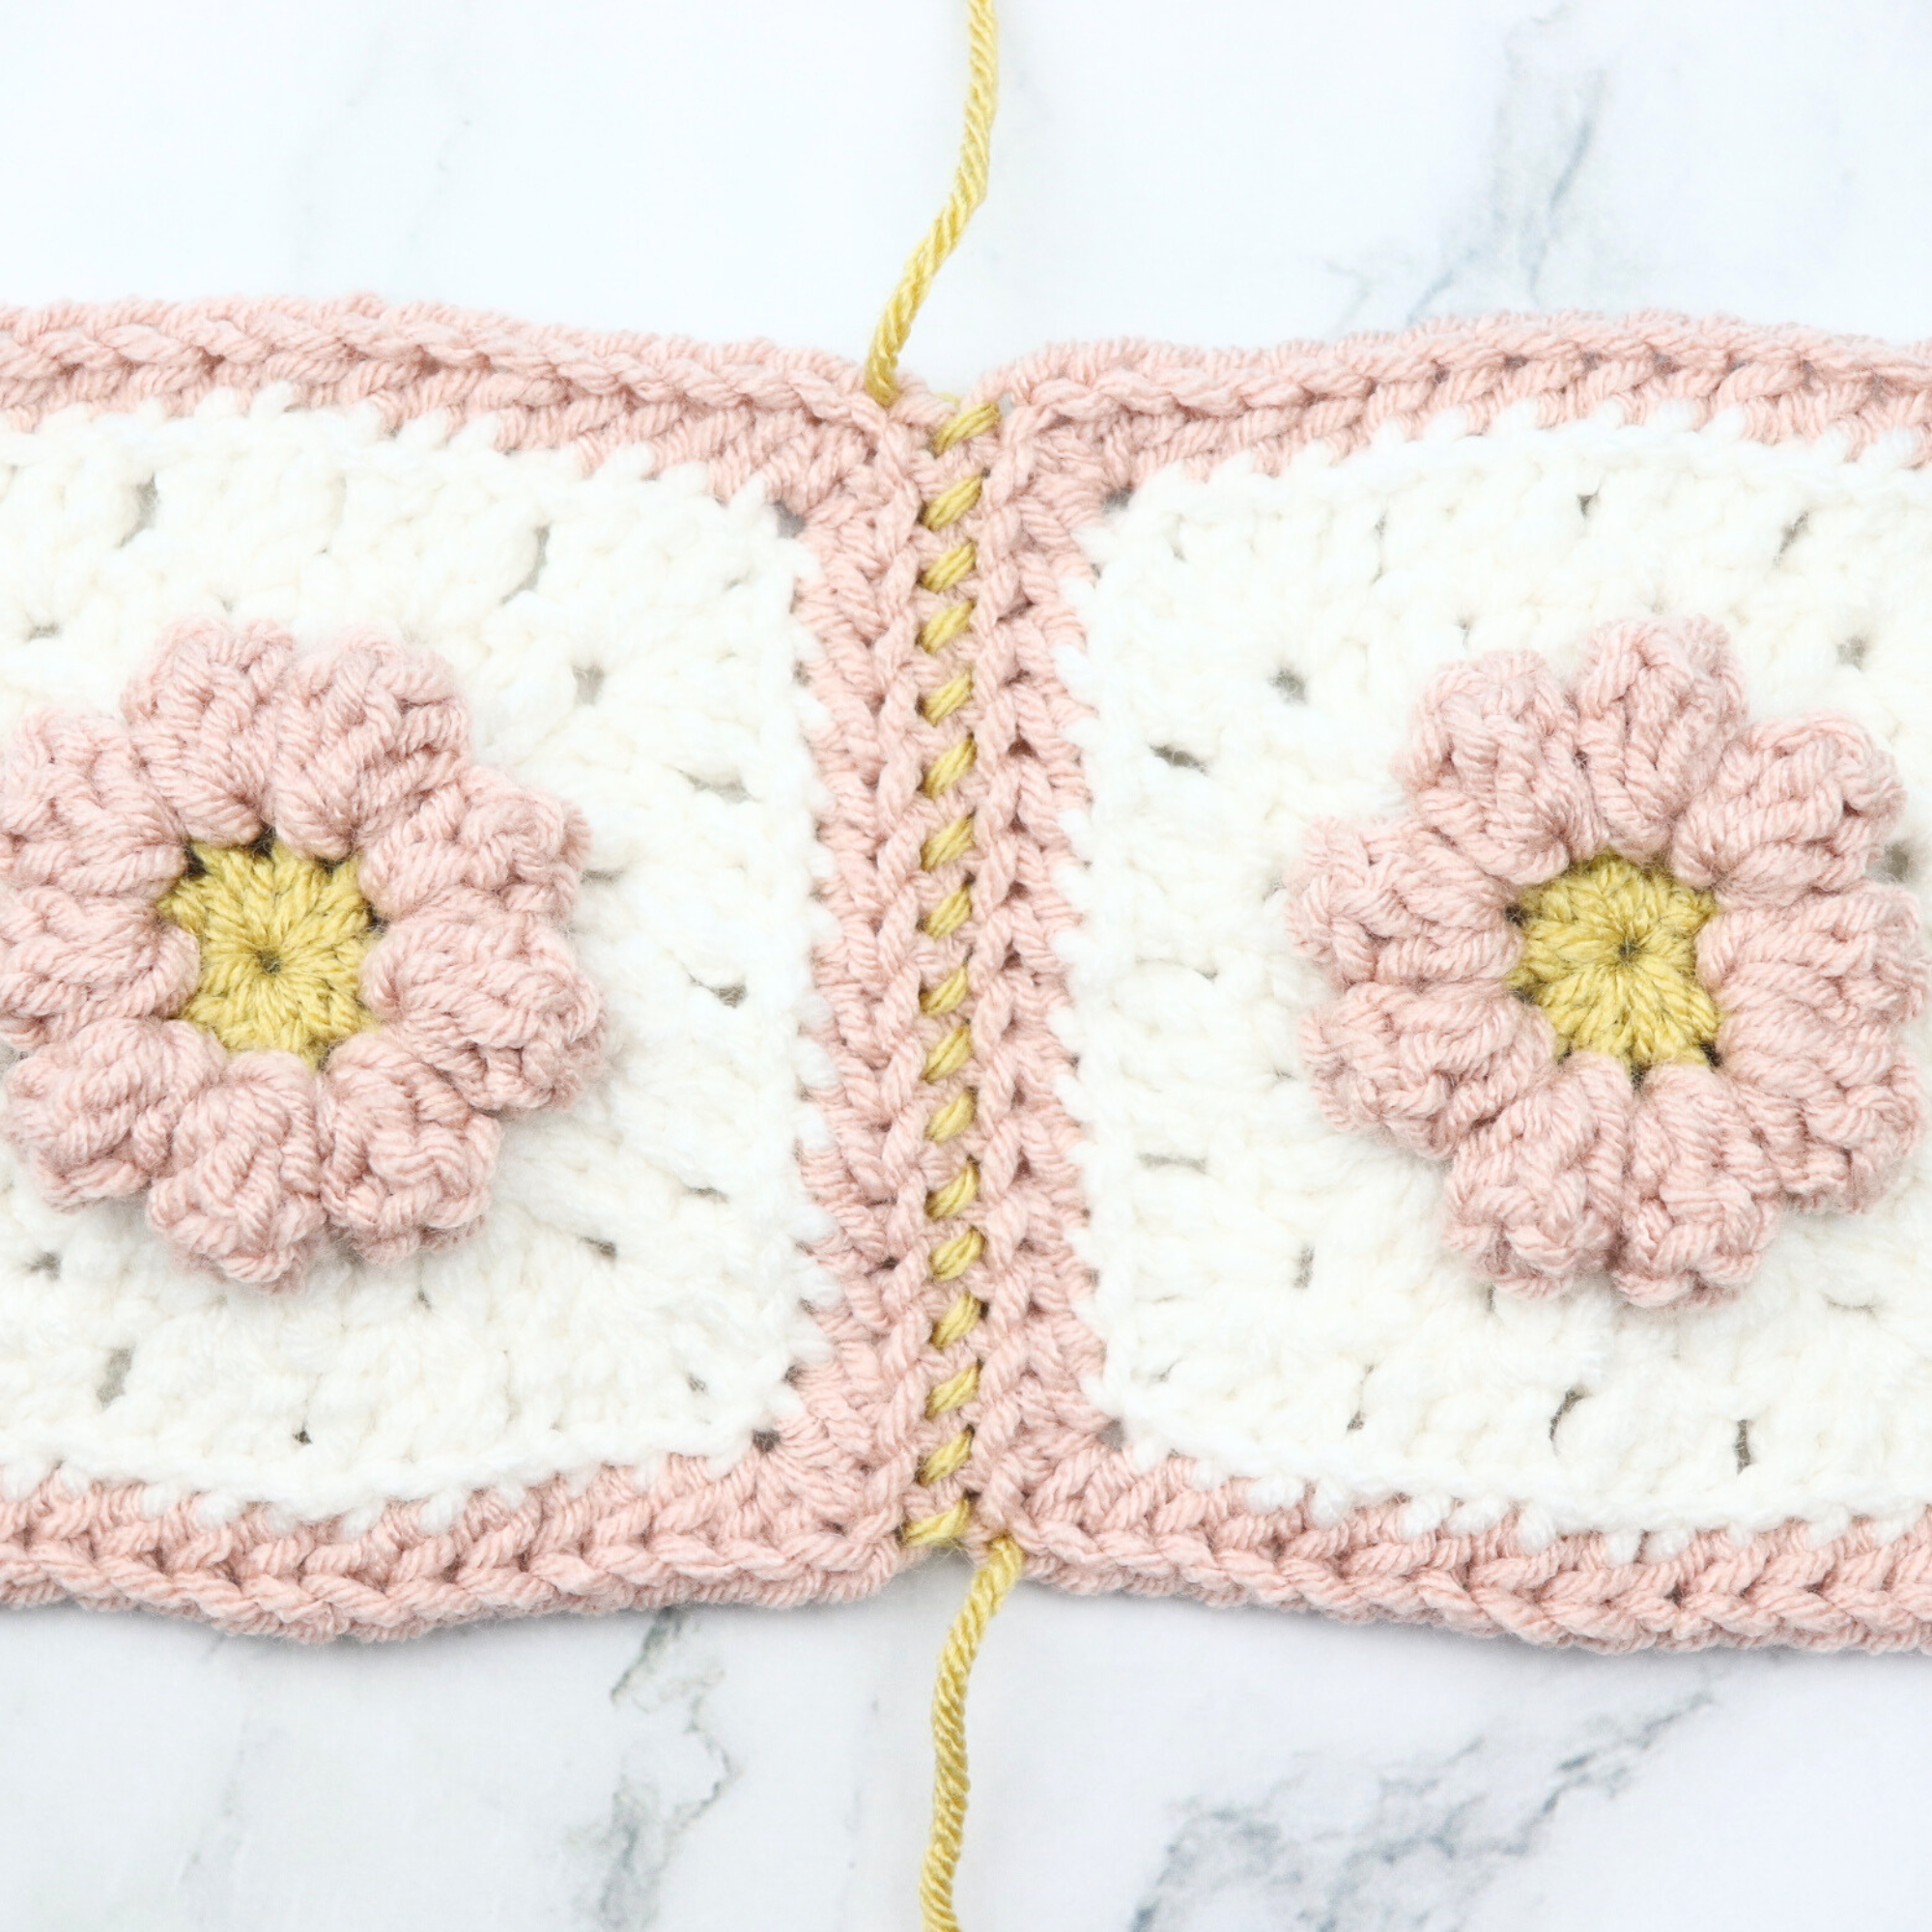
Have you ever wondered how to block your daisy granny squares… or what is dry blocking….. or what is a crochet blocking board? Come along with me as I teach you what dry blocking is, why dry block, and how to dry block.
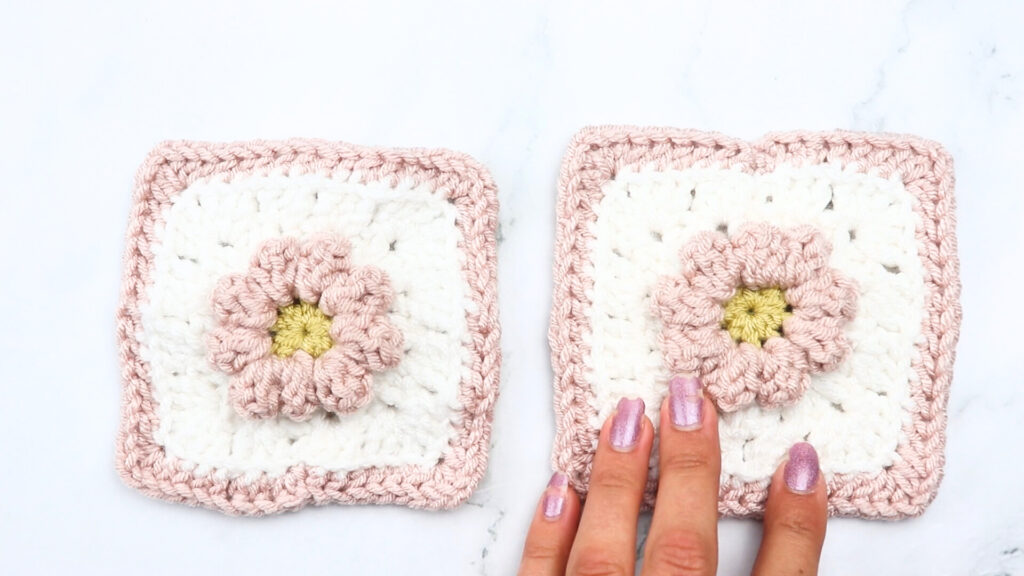
Unblocked vs Blocked
How do I choose a crochet blocking board?
Choosing a blocking board involves a few considerations to ensure it meets your needs:
- Size: Select a board large enough to accommodate your projects. When blocking granny squares you should choosing a blocking board that has holes at every 1/2″ inch increments and long sturdy rust free pins
- Grid/Measurement Markings: Wood blocking boards come with gridlines or measurement markings. I highly recommend buying a board that has 1/2″ increments. Having holes every 1/2″ can help you align your pieces accurately and achieve the correct dimensions for your various crochet projects.
- Thickness: A thicker board may provide better support for your pieces, especially if you’re using steam or moisture to block.
- Surface Texture: A smooth surface is ideal for easy pinning.
- Strong Smooth Pins: Having
- Portability: If you plan to take your blocking board to classes or retreats, consider how easy it is to transport.
- Quality: Compare options and quality. You will be using your blocking board for many years and tons of projects, so buy a board that will last for years and will continue to provide you with great blocking results.

What accessories should I purchase with my crochet blocking board?
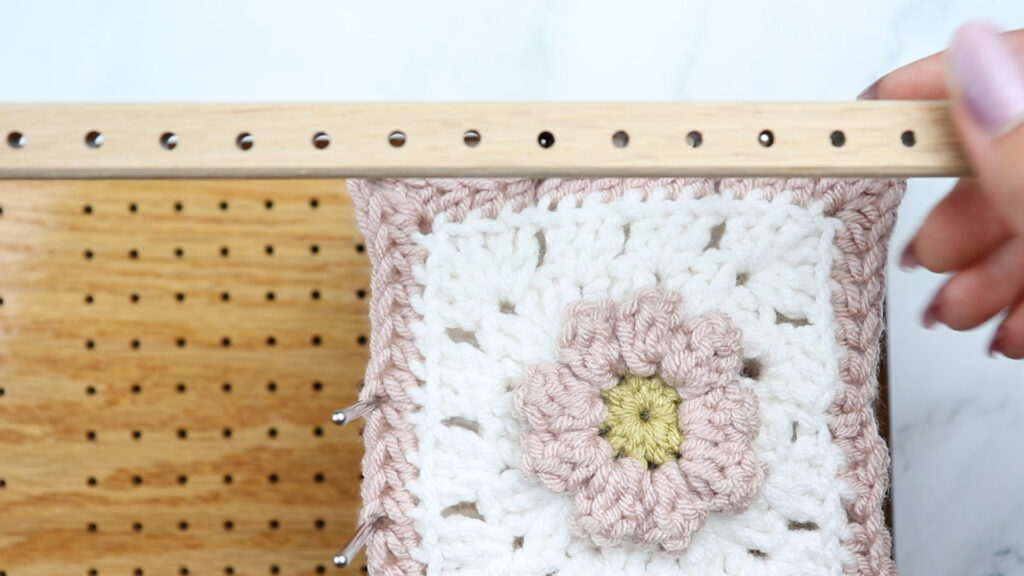
Have you ever heard of Perfecter Strips? Thanks to Chetnanigans, I now know the importance of using perfecter strips. If you are blocking a number of granny squares at one time, and stacking them high on long pins, the tension at the top of the pins will pull in the pins which will cause the top squares to be smaller than the squares on the bottom of your stack! But, if you use the perfecter strips by Chetnanigans, once you click the strips on top of your pins, your top granny squares will exactly match your bottom stack of squares! It’s a simple solution… available in sets of 4 strips that match the base of our Blocking Boards and instantaneously you have a stack of 30 squares that are identical in size at the top and bottom of your stack! Use my CODE: sweetcreek10 for 10% off your purchase at www.chetnanigans.com
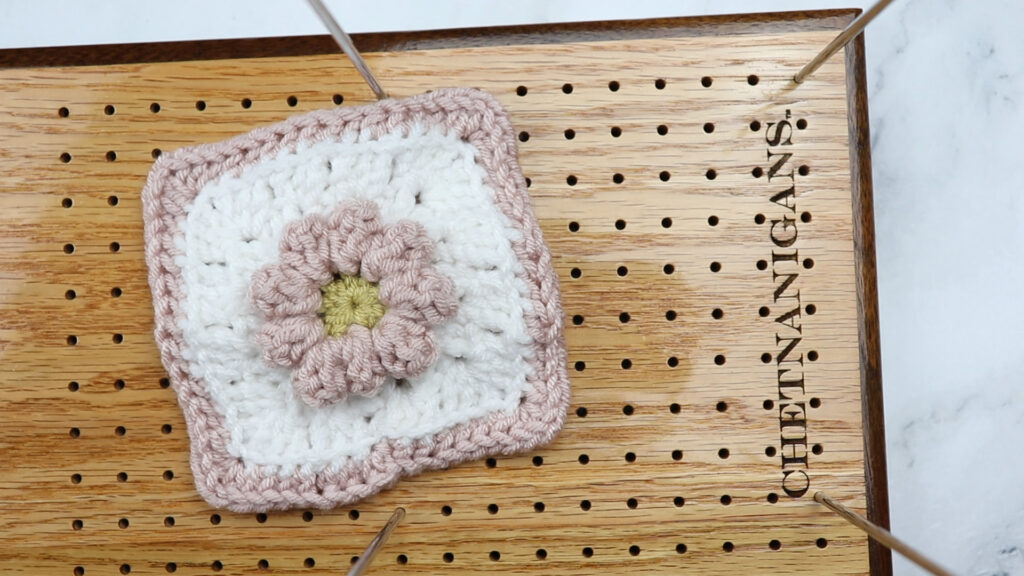
What are the most common ways to block granny squares?
There are two really popular ways to join granny squares, they are:
1. Wet Blocking
2. Dry Blocking
3. Steam Blocking Squares
What is the best way to block granny squares?
In my opinion, dry blocking granny squares is the easiest and works insanely well. Plus typical blocking boards are wood, so, even though they have a water blocking stain, you don’t want to risk repeatedly getting the board wet which could wear off the coating.
How long do you have to block your granny squares?
I find the best length is roughly 12 hours. So, I personally love putting my squares on the blocking board in the evening and by the time I am ready to crochet in the morning the squares are nicely blocked.
Is a blocking mat or blocking board better for Granny Squares?
There are two reasons to use a blocking board instead of a blocking mat.
1. The ease. It is a lot easier to stack up several granny square on top of each other, verses having to measure and separately pin down each individual granny square.
2. Space efficiency. Especially if you live in a small area, you will not want to lay out 10 mats just to block your 20 squares. Instead, with a blocking board you simply stack them on top of each other (I got about 10 squares per stack). If your looking for a blocking board, I highly recommend Chetnanigans, I love the board I got and I know you will too. Use my exclusive code: sweetcreek10 to get 10% off all their products. The link is below:

Do you need to block granny squares?
Yes! The difference in your final square is insane (see picture below). Wuth blocked squares your resulting square will have nice even edges, and nice flat square (not worbly like the left square). If you don’t block your squares, your problems will complicate, meaning that the more squares are not flat and straight that are joined together, the more wave and messy your blanket will turn out, and we don’t want that! We want the blanket that we have poured hours into to be stunning and a gift you can be PROUD to give, not a blanket with messy corners, wavy squares, all joined together to equal a blanket with edges that don’t match up and the squares not laying flat.

How to block granny squares
Blocking your granny squares is simple, all you have to do is make sure to place your pins into the board in a way that will SLIGHTLY stretch the square with out it losing its shape. For my granny squares (pictured below) the final square turned out to be a little smaller than 4.5 inches, so I set up my pins in a 4.5″ square, and as you can see in the picture the square was stretched nicely but not to the point that it would get unnecessarily stretched out.
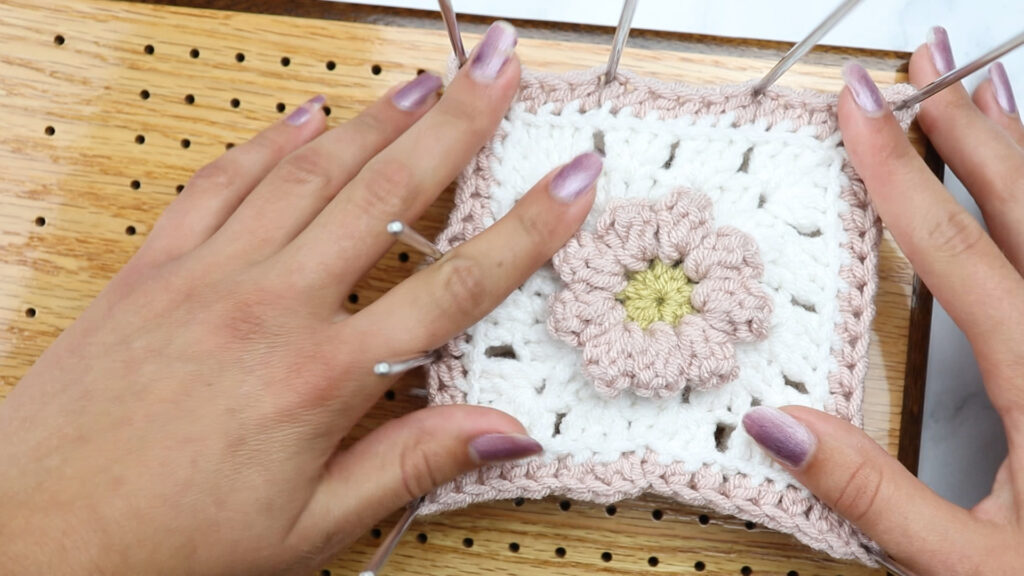
Now, place your granny squares onto the board stacking them in a way that the whole square is still flat (as seen below).
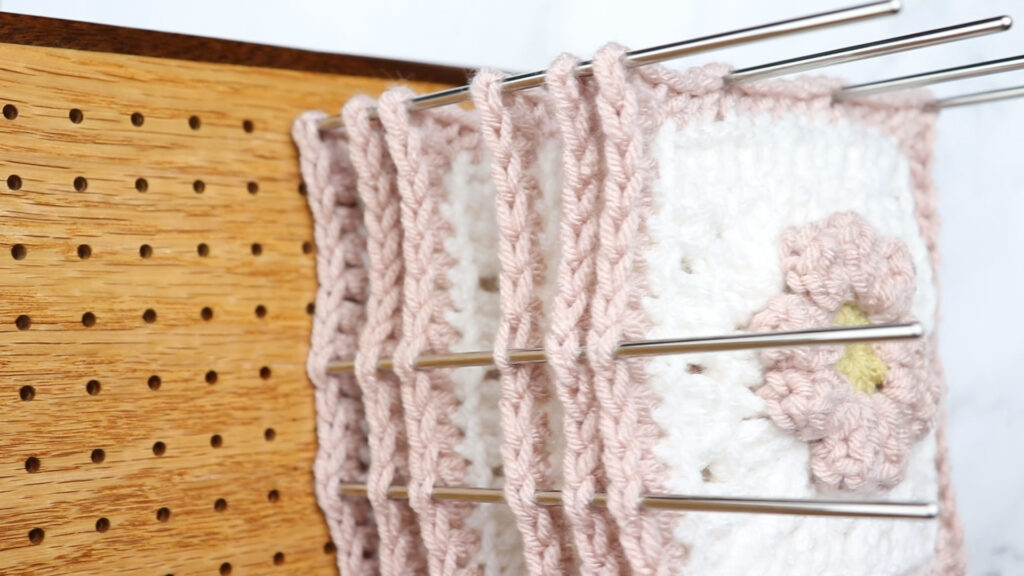
Now that you have all the granny squares you desire on the blocking board, I highly recommend using the Perfecter Strips that you can purchase on the Chetnanigans website. The point of using a Perfector Strip is to hold that pins the same amount out as it is at the base. Sometimes, even with the highest quality pins they will bend in a little bit at the top, the perfector strips will fix this issue insuring that you have that right width and height of squares as the base. Why does this matter? Well, if you are investing the money to purchase a blocking board to make your granny squares just that, nice and square you don’t want the squares at the top to be a different size, do you? These perfector strips allow you to stack up your squares super high insuring that you will be able to make that baby shower deadline.
Looking for a Granny Square Pattern?
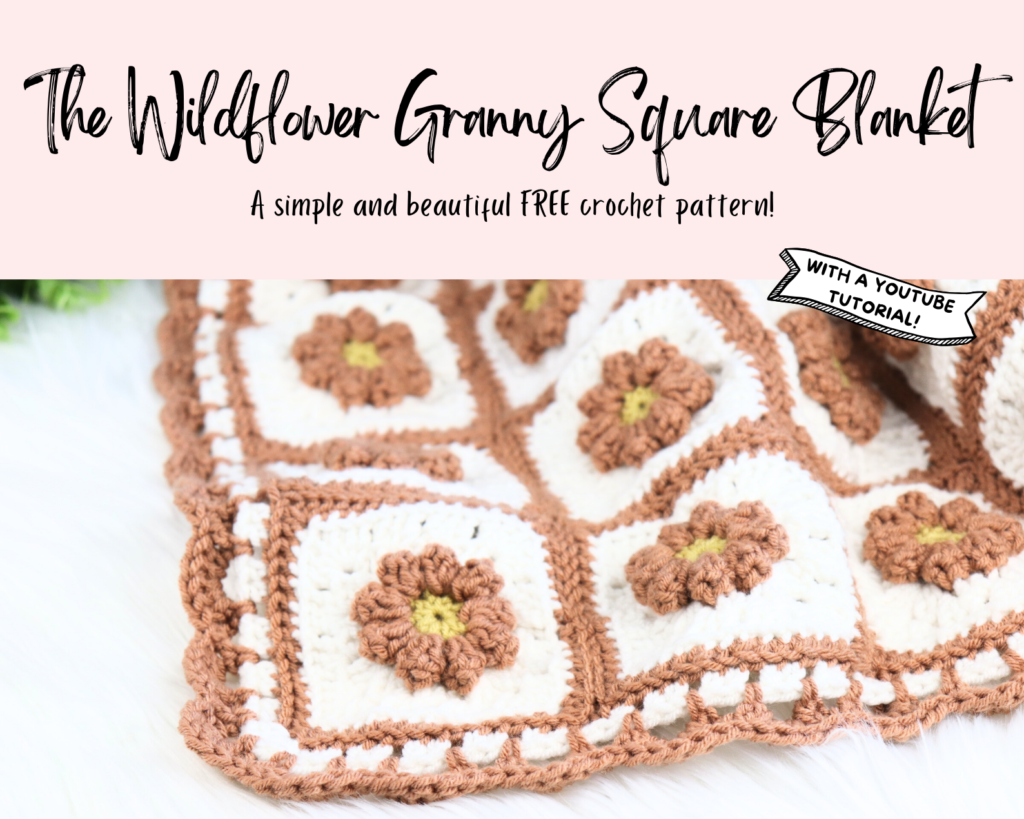
Let me introduce you to my latest pattern, the Wildflower Granny Square Blanket! Brighten up your space with this heirloom Wildflower Granny Square Blanket! This pattern combines classic granny square techniques with a delightful daisy motif to create a cozy, eye-catching blanket that’s perfect for any room. Incorporating wildflowers into this granny square blanket design adds a vibrant, natural touch that evokes the beauty of meadows and gardens. Additionally, this pattern includes a full step-by-step tutorial showing how to make the granny square blanket, making it a very easy pattern.
As always, thank you so much for being here, and I hope this post helped you! Please share you blocking your Granny Squares by tagging me @sweetcreekpatterns, I would LOVE to see it!
Also, please comment below if you have any questions, or this post was helpful, as I LOVE hearing from you all.

