Cat Christmas Stocking- FREE Crochet Pattern
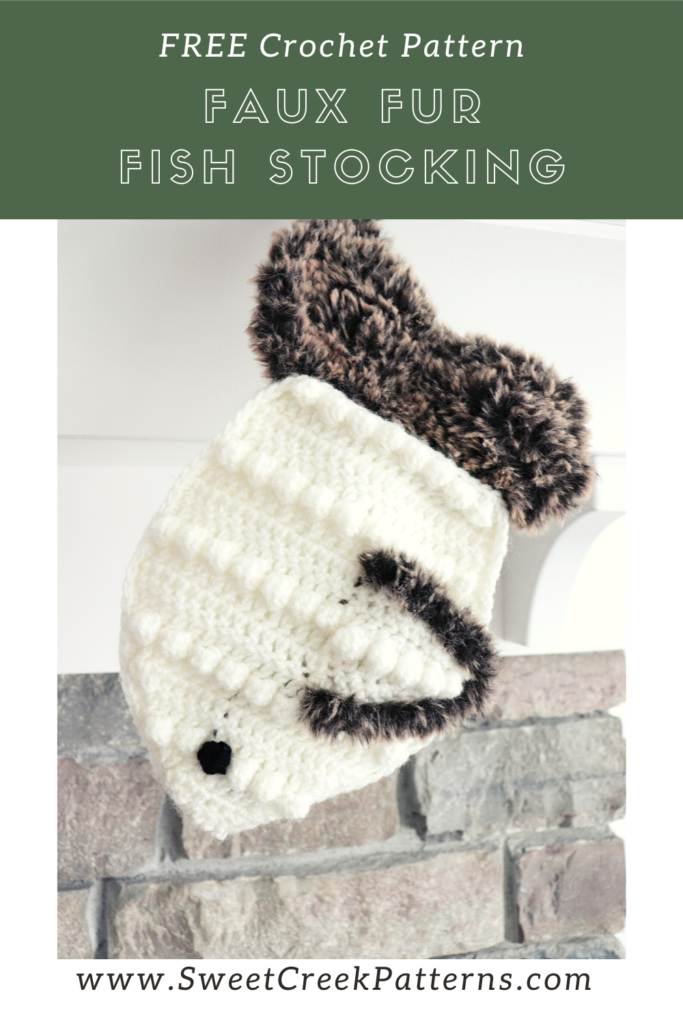
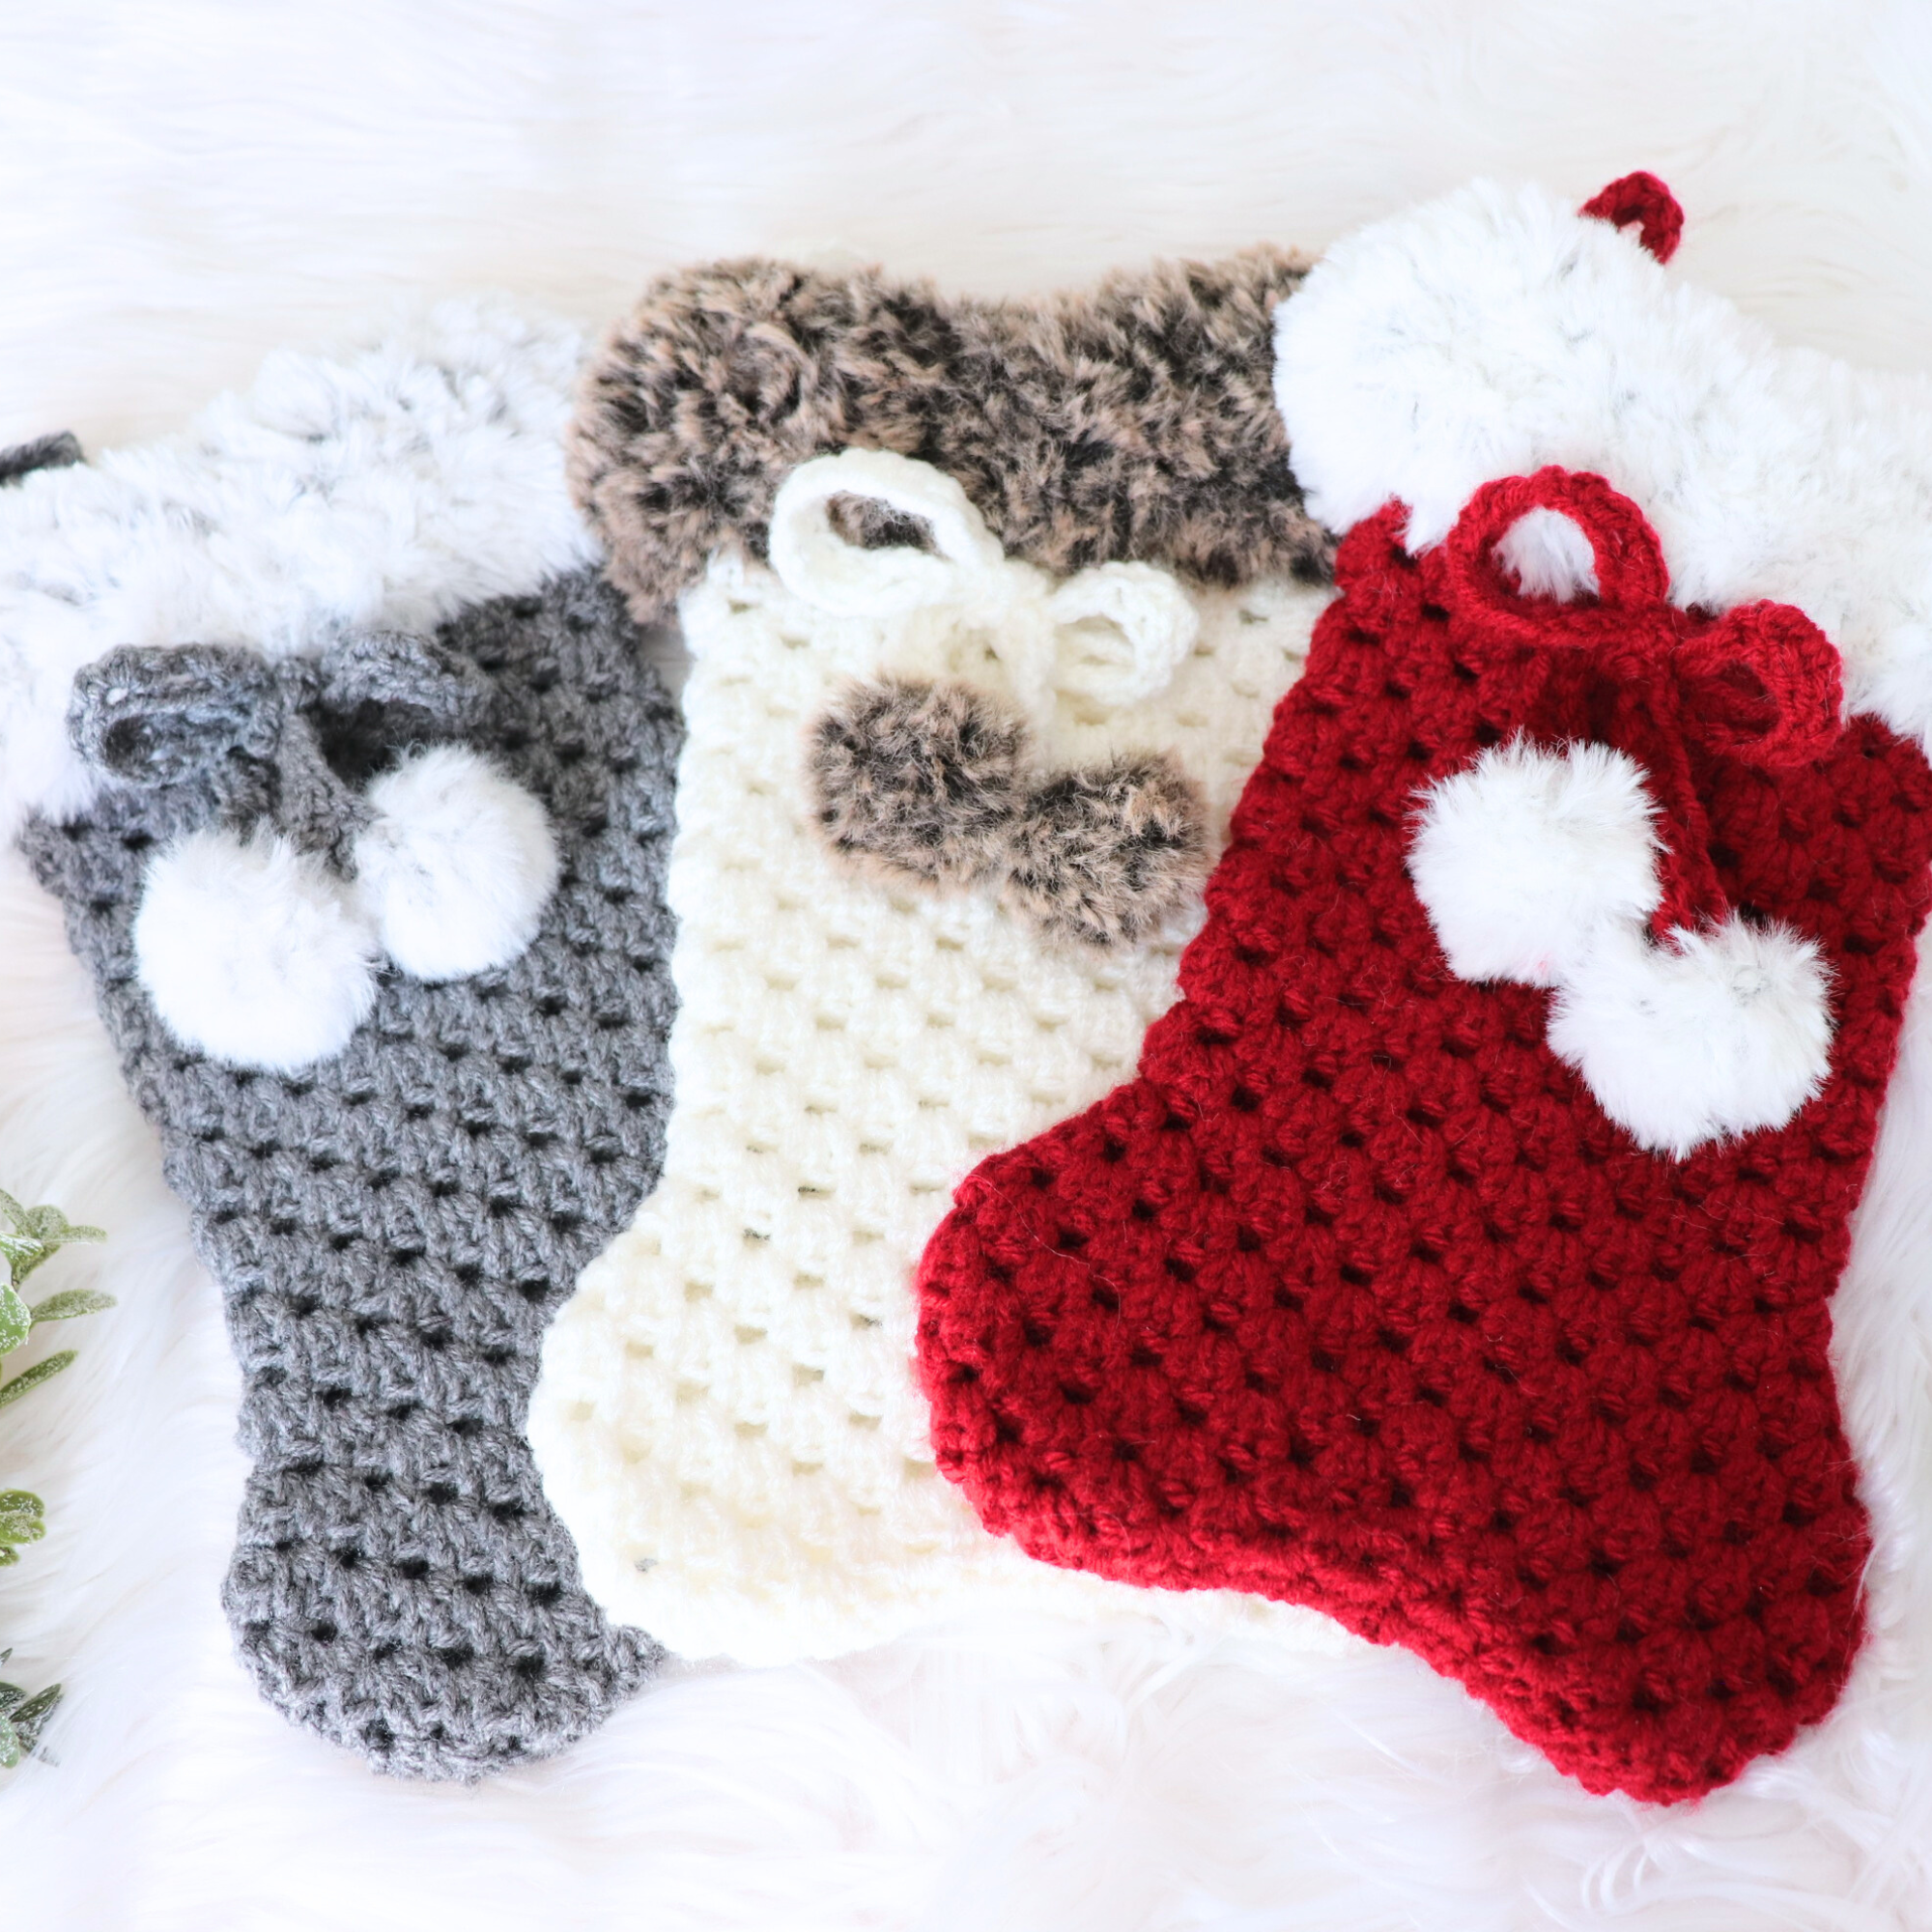
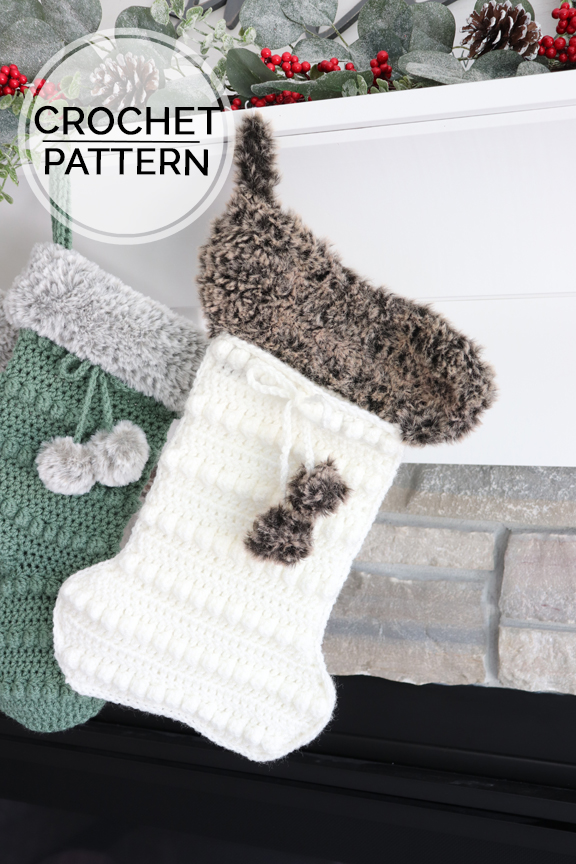
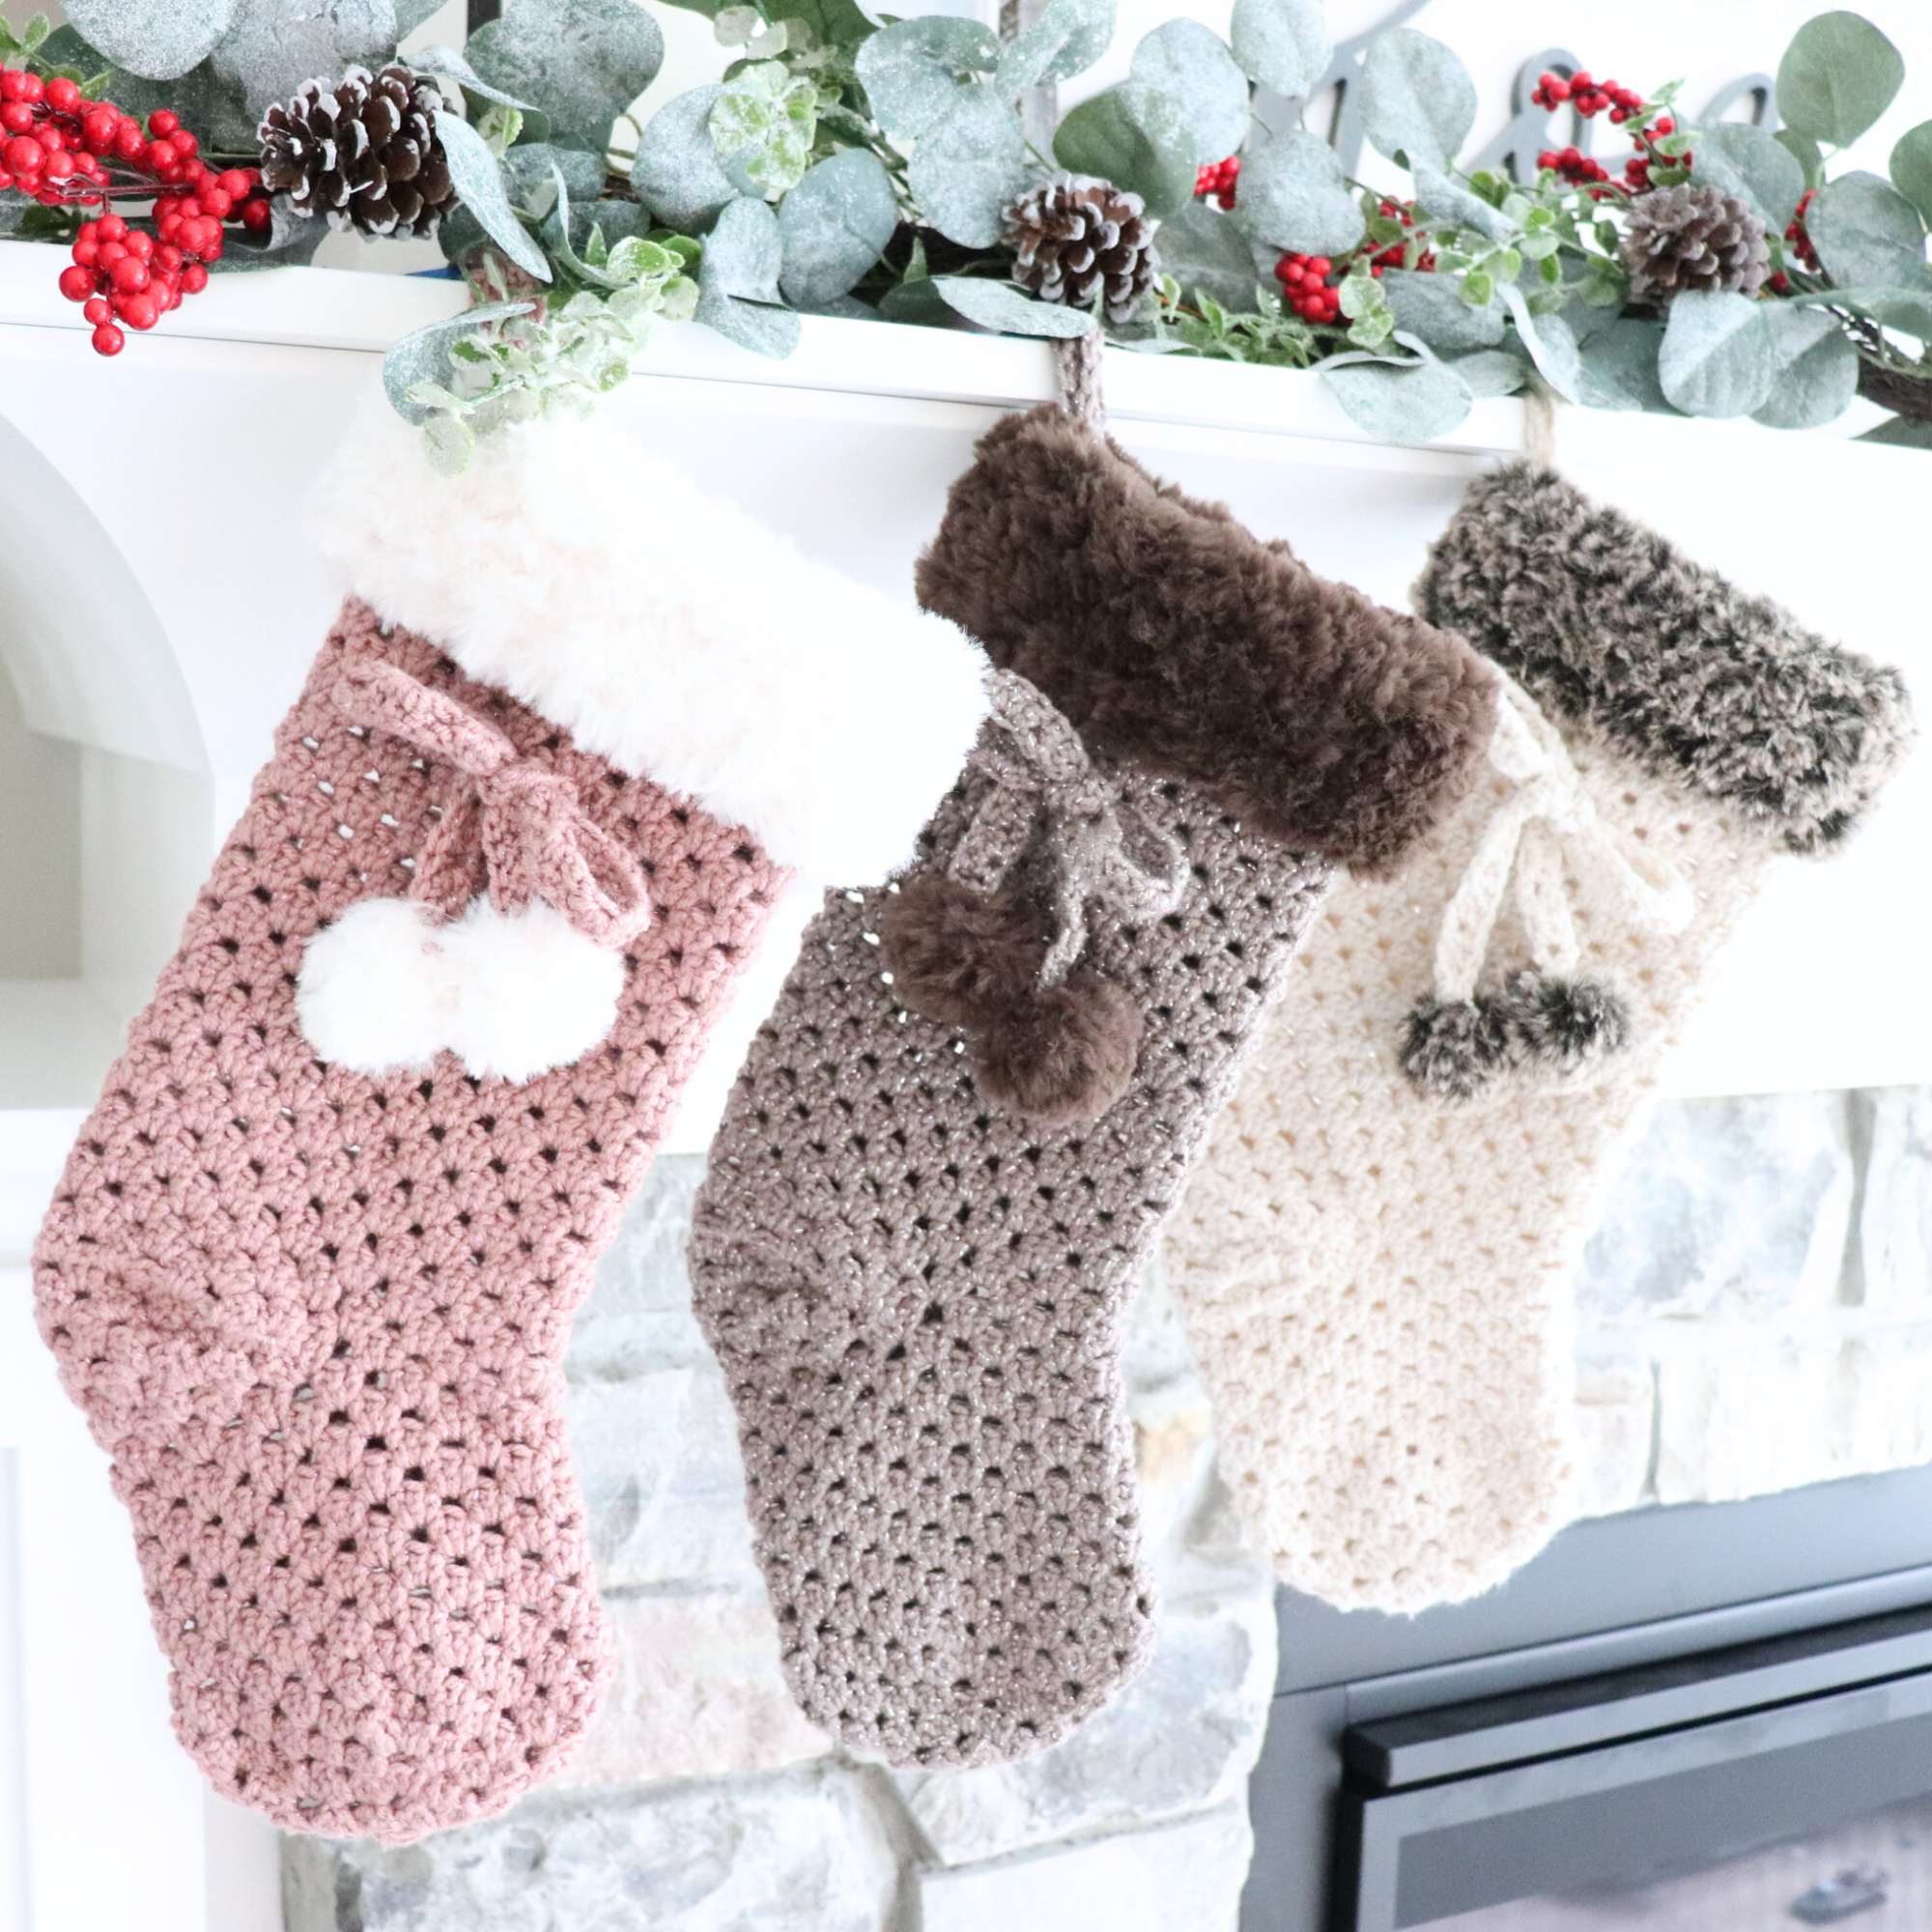
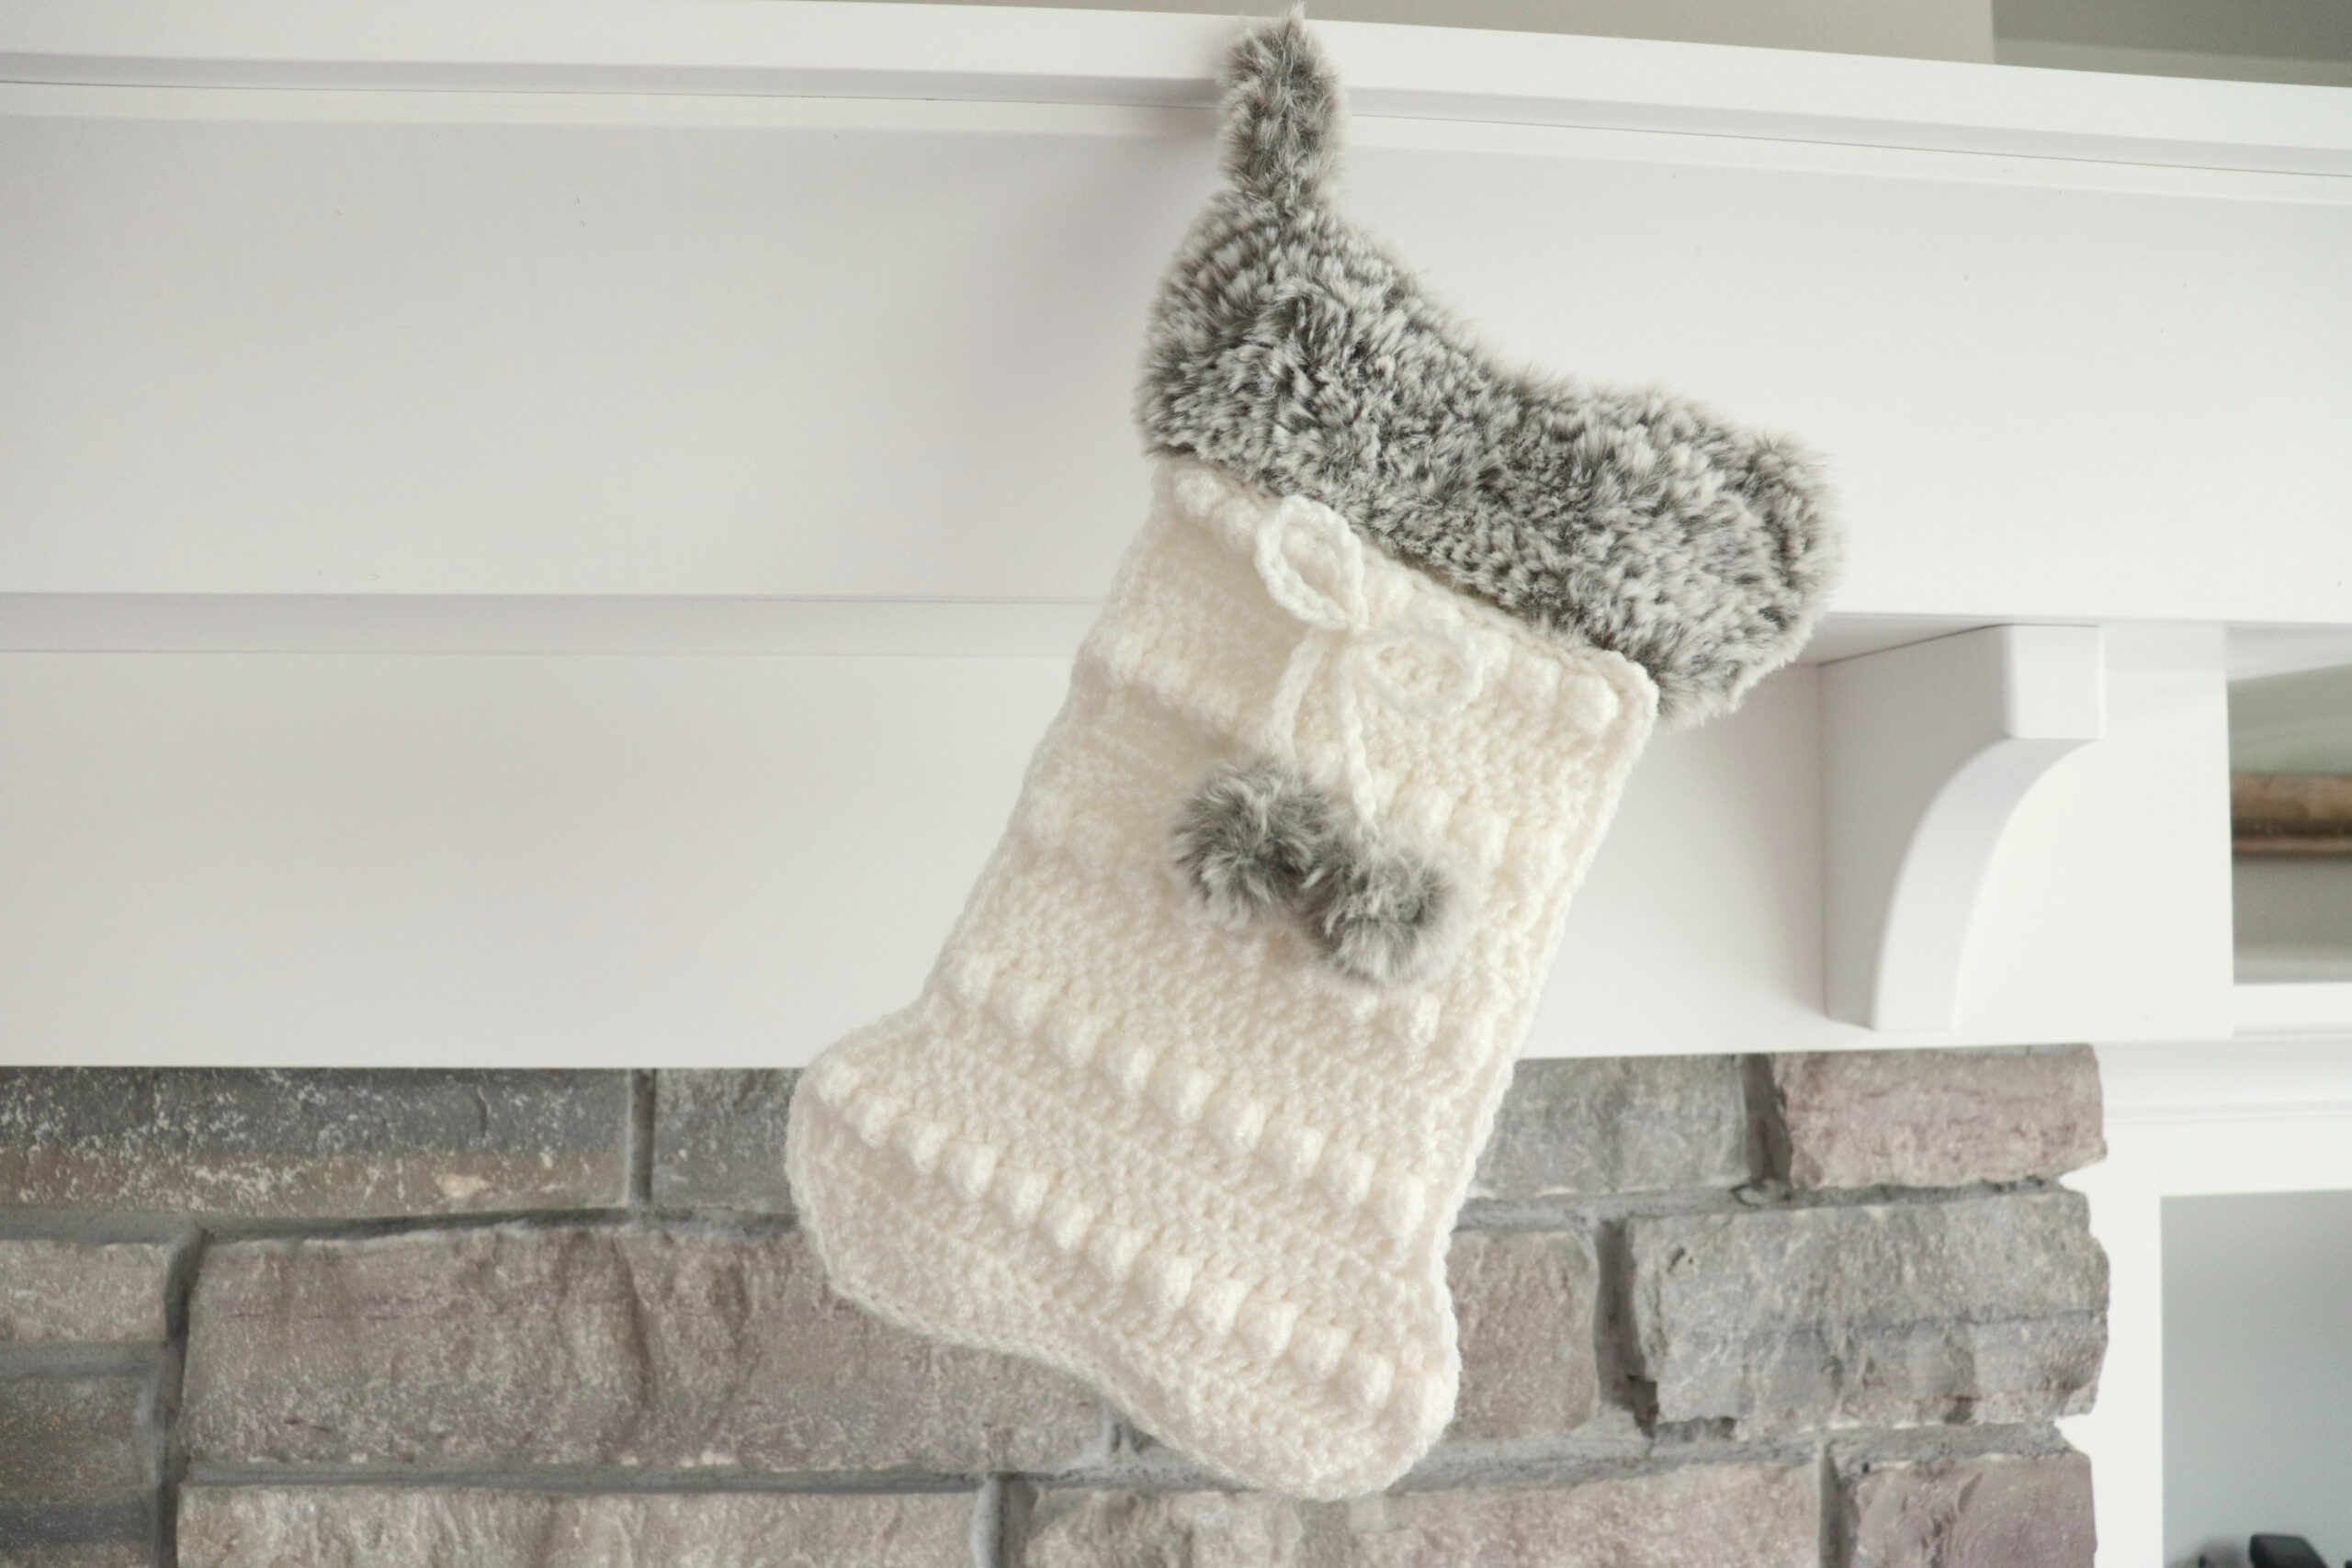
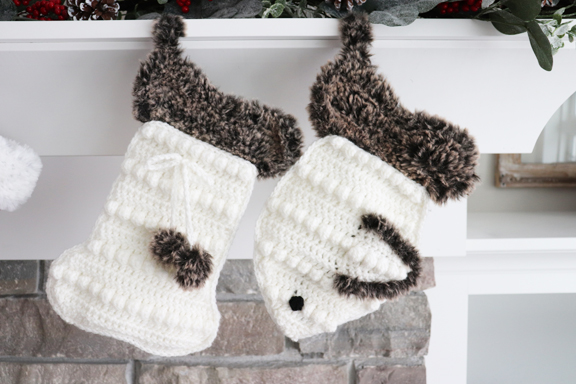
This adorable Cat Christmas Stocking FREE crochet pattern features luxury Faux Fur yarn and is purrrr-fect for your your favorite cats during the Christmas season. Hang it next to the family’s stockings and fill it full of goodies. The finished size of this stocking measures 12” tall by 6” wide, which is a little smaller than the standard stocking size. The smaller size is perfect to portray the little pawed friends in our lives.
You can buy this ad free Faux Fur Fish Stocking Crochet Pattern for Cats here.
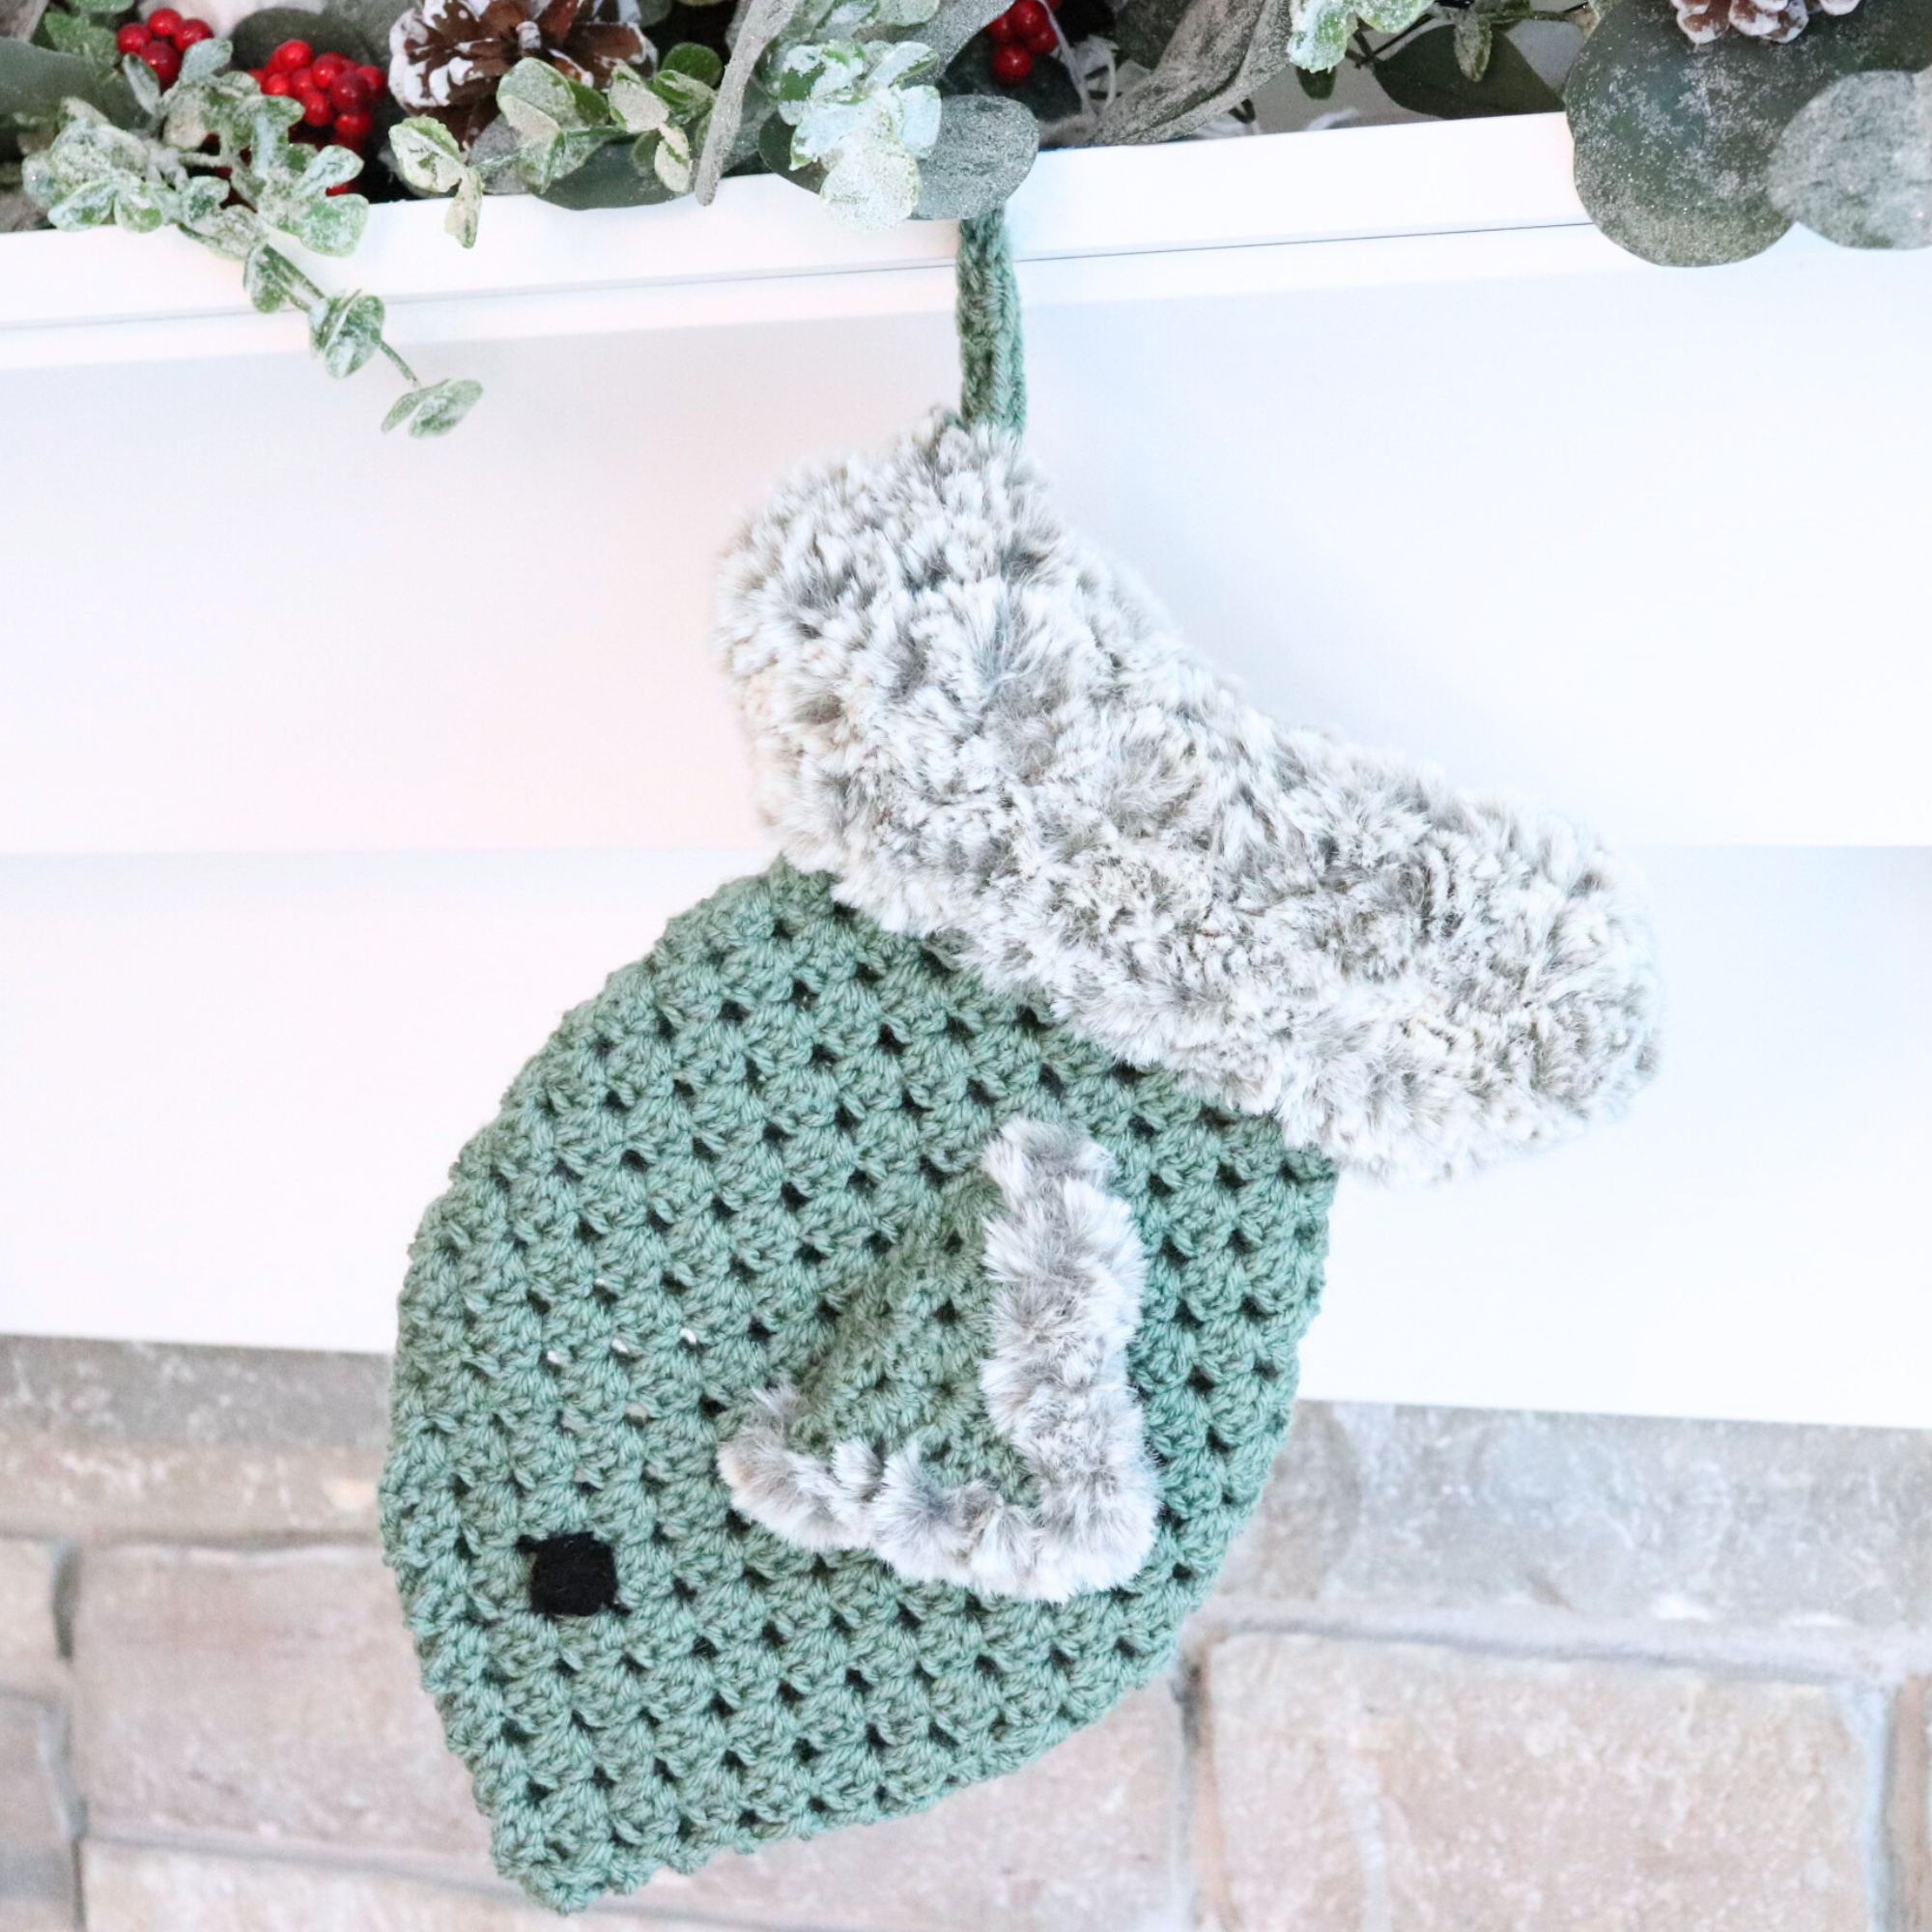
Faux Fur Fin
Do you prefer the faux fur fin????
Faux Fur Bobbles
Optional features to choose from….. do you prefer the faux fur bobbles, or…..
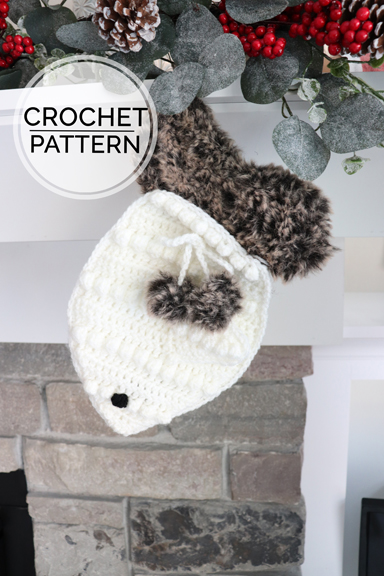
Crochet Materials Needed:
(As an Amazon Associate this post contains affiliate links, which means I make a small commission at no extra cost to you.)
Yarn:
Color A: #4 Worsted Weight, 100 yards (I used Red Heart Super Saver Soft White and Burgandy
Color B: #6 Faux Fur Super Bulky, 25 yards (I used WeCrochet Fable Fur, and Lion Brand Go For Faux– NOT Thick and Quick)
Notions:
Scissors
Stitch Markers
Darning Needle
Poly-fil
Hook: 5.5mm / US size I (or hook to obtain gauge)
GAUGE (6 x 6″)
18 sts x 11 rows in pattern
FINAL SIZE
6″ W x 12″ H
Stitch Key
bobble
Yarn over insert, yarn over pull through, yarn over pull through 2 loops. repeat that for a total of 5 loops on your hook (a total of 4 times).
dc3tog
Yarn over insert, yarn over pull through, yarn over pull through 2 loops. repeat that into a total of 3 consecutive stitches.
3dc-inc
Double crochet 3 times into one stitch.
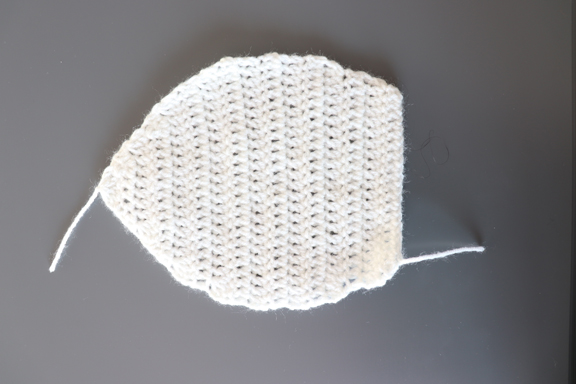
BACK PANEL
Using color A, and 5.5mm crochet hook:
Note: For the whole pattern ALL turning chains do NOT count as a stitch
Row 1: Ch 18, 3dc-inc in 3rd ch from hook, dc in next 14 sts, 3dc-inc in last st (20)
Row 2-3: Ch 2, turn, dc in each st across (20)
Row 4: Ch 2, turn, 3dc-inc in first st, dc in next 18 sts, 3dc-inc in last st (24)
Row 5-9: Ch 2, turn, dc in each st across (24)
Row 10: Ch 2, turn, dc3tog in first 3 sts, dc in next 18 sts, dc3tog in last 3 sts (20)
Row 11: Ch 2, turn, dc in each st across (20)
Row 12: Ch 2, turn, dc3tog in first 3 sts, dc in next 14 sts, dc3tog in last 3 sts (16)
Row 13: Ch 2, turn, dc3tog in first 3 sts, dc in next 10 sts, dc3tog in last 3 sts (12)
Row 14: Ch 2, turn, dc3tog in first 3 sts, dc in next 6 sts, dc3tog in last 3 sts (8)
Row 15: Ch 2, turn, dc3tog in first 3 sts, dc in next 2 sts, dc3tog in last 3 sts (4)
Row 16: Ch 2, turn, dc4tog in remaining 4 sts (1)
Tie off and weave in ends.
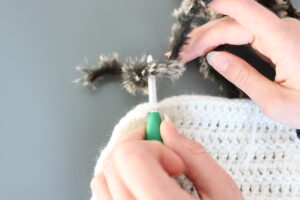
Faux Fur On Back Panel
Using faux fur (color B):
Flip your work to the wrong side, now go to the chain that you began with (where your yarn tail is) and with faux fur insert into first chain (closest to the tail) yarn over, pull through and ch 2.
Please Note: I use a Stitch Marker so that I know where the row ends and also mark where the different stitches begin/end.
Row 1: 3dc-inc in first st, dc in next 14 sts, 3dc-inc in last st (20)
Row 2: Ch 2, turn, 3dc-inc in first st, dc in next 5 sts, hdc in next 2 sts, sc in next 4 sts, hdc in next 2 sts, dc in next 5 sts, 3dc-inc in last st (24)
Rows 3: Ch 2, turn, dc in first 8 sts, hdc in next 2 sts, sc in next 4 sts, hdc in next 2 sts, dc in last 8 sts (24)
Row 4: Ch 2, turn, dc3tog in first 3 sts, dc in next 5 sts, hdc in next 2 sts, sc in next 4 sts, hdc in next 2 sts, dc in next 5 sts, dc3tog in last 3 sts (20)
Row 5: Ch 2, turn, dc3tog in first 3 sts, dc in next 3 sts, hdc in next 2 sts, sc in next 4 sts, hdc in next 2 sts, dc in next 3 sts, dc3tog in last 3 sts (16)
Row 6: Turn, ch 10, slip st in same st, tie off weave in ends! This is the loop you hang off your mantel.
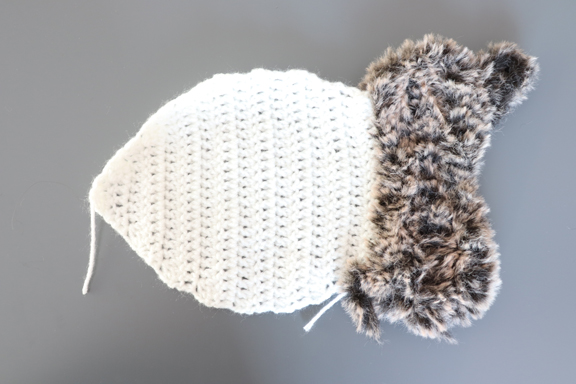
FRONT PANEL
Using color A:
Note: once again the turning chains DO NOT count as a stitch
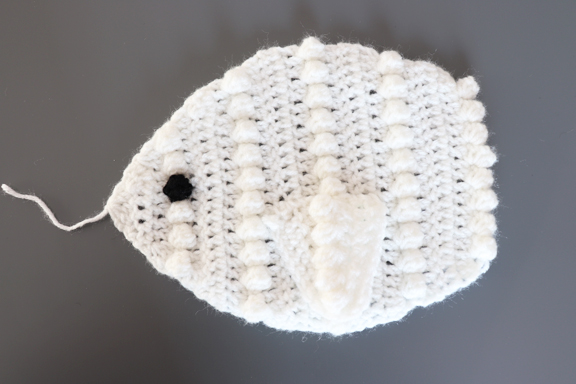
Row 1: Ch 17, bobble in 2nd ch from hook, sc in next st, repeat *bobble, sc* in ea st, 8 bobbles (16)
Row 2: Ch 2, turn, 3dc-inc in first st, dc in next 14 sts, 3dc-inc in last st (20)
Row 3-4: Ch 2, turn, dc in ea st across (20)
Row 5: Ch 1, turn, bobble in first st, sc in next st, repeat *bobble, sc* in ea st, 10 bobbles (20)
Row 6: Ch 2, turn, 3dc-inc in first st, dc in next 18 sts, 3dc-inc in last st (24)
Row 7-8: Ch 2, turn, dc in ea st across (24)
Row 9: Ch 1, turn, bobble in first st, sc in next st, repeat *bobble, sc* in ea st, 12 bobbles (24)
Row 10-11: Ch 2, turn, dc in ea st across (24)
Row 12: Ch 2, turn, dc3tog in first 3 sts, dc in next 18 sts, dc3tog in last 3 sts (20)
Row 13: Ch 1, turn, bobble in first st, sc in next st, repeat *bobble, sc* in ea st, 10 bobbles (20)
Row 14: Ch 2, turn, dc in ea st across (20)
Row 15: Ch 2, turn, dc3tog in first 3 sts, dc in next 14 sts, dc3tog in last 3 sts (16)
Row 16: Ch 2, turn, dc3tog in first 3 sts, dc in next 10 sts, dc3tog in last 3 sts (12)
Row 17: Ch 1, turn, bobble in first st, sc in next st, repeat *bobble, sc* in ea st, 6 bobbles (12)
Optional: You can use black yarn on the fourth bobble in this row to make the fish eye.
Row 18: Ch 2, turn, dc3tog in first 3 sts, dc in next 6 sts, dc3 tog in last 3 sts (8)
Row 19: Ch 2, turn, dc3tog in first 3 sts, dc in next 2 sts, dc3tog in last 3 sts (4)
Row 20: Ch 2, turn, dc4tog (1)
Do NOT tie of as you will sc around to join the front and back panel.
FIN (optional)
Using color A:
Note: once again the turning chains DO NOT count as a stitch
Row 1: Ch 11, sl st in first 3 sts, sc in next 2 sts, hdc in next 2 sts, dc in next 3 sts (10)
Row 2: Ch 2 turn, dc in first 3 sts, hdc in next 2 sts, sc in next 2 sts, sl st in next 3 sts (10)
Row 3: Ch 1, turn, bobble in first st, sc in next st, repeat *bobble, sc* in ea st, 5 bobbles (10)
Row 4: Ch 2, turn, dc in first 3 sts, hdc in next 2 sts, sc in next 2 sts, sl st in last 3 sts (10)
Row 5: Ch 1, turn, sl st in first 3 sts, sc in next 2 sts, hdc in next 2 sts, dc in last 3 sts (10)
Row 6: Ch 1, turn, sc down the right and left side, but NOT across the top

Faux Fur trim on the Fin
Using color B:
Using your faux fur yarn, sc into the first st of the side of the fin, then sc into ea st around the edge of the fin, but NOT across the top of the fin. Tie off and weave in ends.
Attaching the Fin
Using color A:
On the third bobble row of the front panel, between the fifth and sixth bobble from the bottom, whip stitch the fin onto the front panel, lining up the bobbles.
Joining Panels
Using color A:
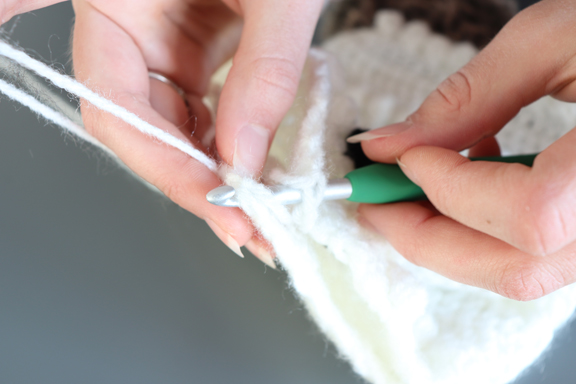
Align both panels with right sides facing up, on your front panel where you did not tie off, insert your hook into that loop through both panels, and do the following:
Ch 1, 2 sc into each ch space, (about 38 sc) until you reach the top of color A, 2sc-inc into the corner, sc across ONLY the top panel of the fish stocking (creating the opening of the stocking), 2sc-inc into the corner, sc around until you reach where you first started (about 38 sc, but as long as it looks even, it is done).

Bow (optional)
Using color A:
Row 1: To make the bow you make a slip knot then chain 60 and tie off.
To attach to stocking you will find the row directly below the first bobble row, find the middle of the row, then you will insert your crochet hook around the 3 middle stitches and continue to make a bow like you would with your shoe lace.
How to Crochet Faux Fur Pom Poms (or Bobbles)
Bobbles (optional)
Using color B:
Row 1: Make a mc and sc 5 times into it, sl st to join (5)
Row 2: Ch 1, do NOT turn, 2sc-inc into each st, sl st to join (10)
Row 3: Ch 1, do NOT turn, sc2tog in each st, sl st to join (5)
Fill with a little bit of stuffing and sew it shut then tie on to bow in the front.
Faux Fur Pet Stocking Collection by Sweet Creek Patterns includes:
Buy the ad-free pdf version of the Faux Fur Fish/Cat Stocking Crochet Pattern here.
Buy the ad-free pdf version of the Small Faux fur Dog Bone Stocking Crochet Pattern here.
Buy the ad-free pdf version of the LARGE Faux Fur Dog Bone Stocking Crochet Pattern here.
Buy the ad-free pdf BUNDLE DEAL of the Large & Small Faux Fur Dog Bone Stocking Crochet Patterns here.
Pin for later:
